Maybe I should have taken a radio…

…and no radio with me (intentionally)
A bit behind on everything, but snuck in a quick activation of this. Creeping delays added up and then half an hour of Christmas phone calls at the summit didn’t leave much time. Had 1:45 mins to make the last chair, did the descent in 1:15, leaving enough time for a coffee.
Minimalist setup due to packing volumes and the FT-817 has a question mark after the lightning strike on The Nobs.

Despite practicing CW the last week in comfortable hotel rooms, it was a bit of a mess on the summit. Freezing wind from the south together with blow flies would be the handy excuse, but it’s more likely it’s just me and lack of continuous practice, though for the most part receiving was fine. Tried reducing Keyer speed but that only made matters worse, so put it back up. Apologies to those who worked me, and anyone listening! New Years resolution is clear.
A couple of contacts on 40 and 2 ZLs on 20. Not great reports (339,229,429) but unsurprising given the quick setup and location. No responses on 2m.
UPDATE: btw driving C608/Barry Way was a bit of an eye opener. That’s an interesting drive to put it mildly. Hurt more than a little to drive past Mt Seldom Seen without stopping. Really heavy fire damage in places. Fun chat with the police at the checkpoint earlier. Don’t think they’d seen much traffic, we didn’t see any cars beyond that point.
Revisiting the RTLSDR CW Skimmer with a dedicated mini pc required some rethinking of the input stages/filtering when it came to thinking about multi-band support.
Other multi band skimmers appear to have either gone with completely wide open front ends , or multiple antennas/cascaded combiners. With 8bit sampling and a single antenna (active loop) I needed to take a more selective approach to protect the front end.
Inspiration came from looking at papers on multi band front end filtering for 4g networks. It turns out you can easily parallel BPFs with relatively minimal downsides, the main one being reduced stop band attenuation between BPF center frequencies, but it wins in simplicity. I had never contemplated this approach, and have yet to find anything in the amateur literature on it.
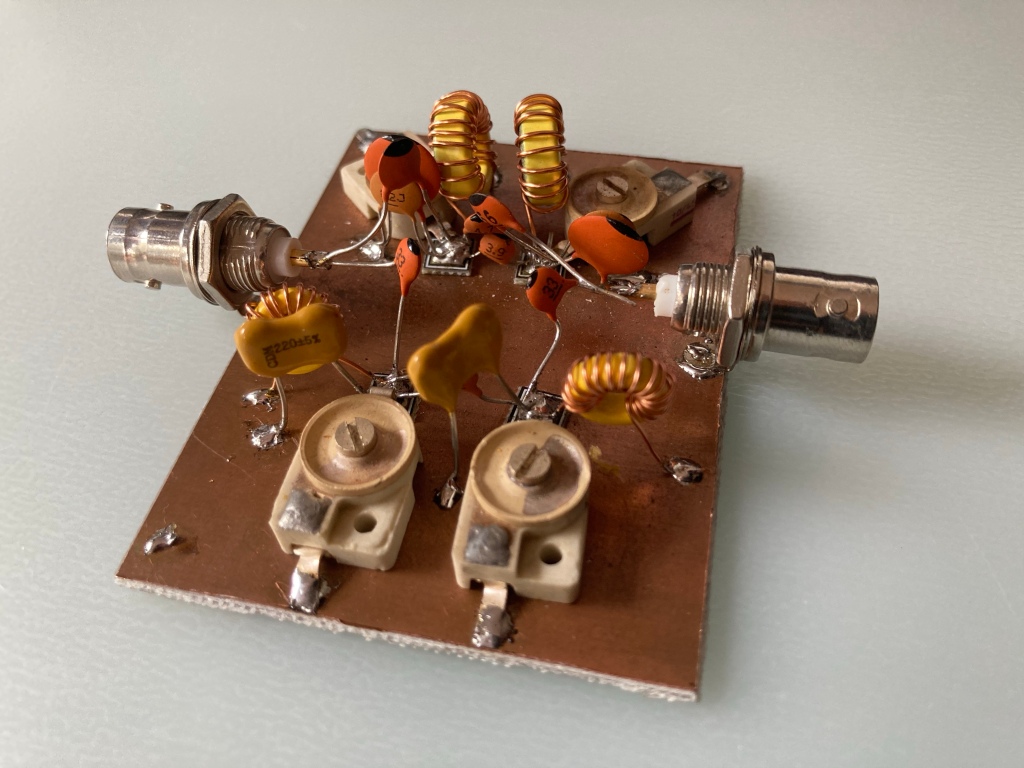
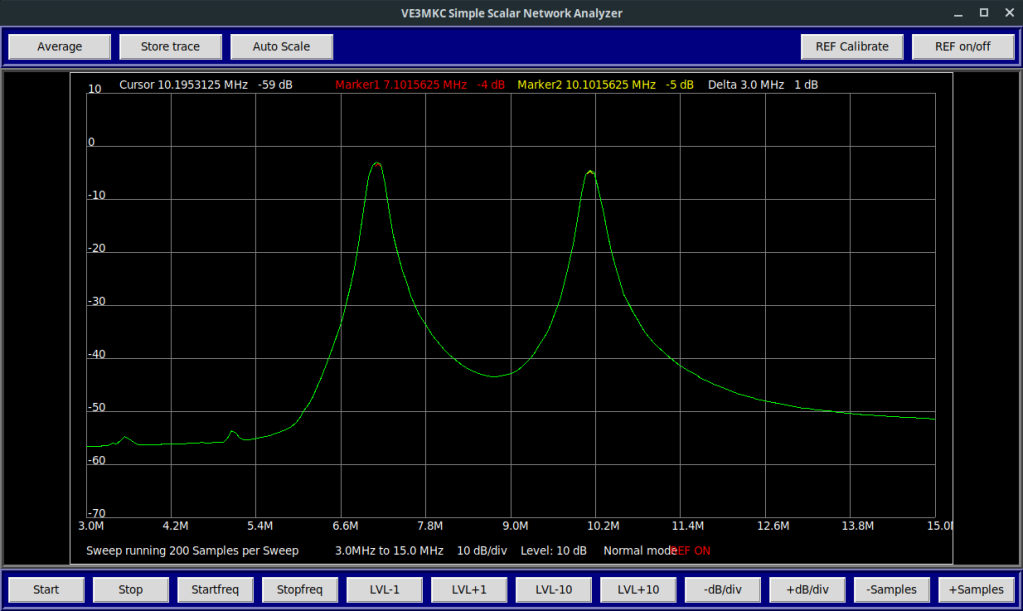
First up, while the above is calibrated, so that 0dB is at 0, the two little bumps at 3.5 and 5MHz indicates that the output amp has minor but noticeable second harmonic output. Adjusting for that, I’m guessing the actual insertion loss is less than 1dB and probably 2-3dB for 10MHz. Know your test equipment and it’s limitations.
The second learning, was that if you’re looking at 100-200kHz bandwidth filters at these frequencies, toroid size is actually critical. FT37 will be marginal at best, FT50 will be easily sufficient. charts are also available online plotting Q vs frequency, turns and core type. So one improvement will be to swap the FT37-6 one of the filters for larger cores.
The other, again related to Q, is that capacitor selection is also important. NP0 or silver mica. Trying generic ceramics resulted in 20dB of insertion loss! Probably not anything new for anyone experienced, but nice to see this play out visually, and impressive the difference.
The other test was to attempt to measure the Q of the inductors with the SNA. Tried two approaches, the working one being lightly coupling (4.7pf) to the LC circuit and measuring 3 points of the frequency response curve. Calculated a Loaded Q of 175 for the FT37-6 at 11Mhz which matches closely with a unloaded Q of 190 as expected from other sources. It may be crude, but the SNA is a workhorse.
So time to rebuild this in the new front-end enclosure for the skimmer…
So this is a long story… but the short version is I drove over to Western Australia just before Christmas with the intention of meeting my family and driving back after a week in Esperance. This gave me the opportunity to tick off a bunch of summits in VK5 and VK6. Peak Charles was one of the main goals, having been activated just the once, and looking like a real challenge to summit.
The bushfires across Australia put an end to activations on the way over and then to driving back after Christmas with the Eyre Highway closed for 10 days. Left the car in Perth and flew back with the idea that we’d head to Perth as usual for Easter and drive back then. This plan itself was deemed to be at risk due to the rapidly evolving situation so I made a decision at the last minute to book a flight a week earlier and retrieve my car by myself before it became impossible. This decision turned out to be fortuitous.
A solo trip again opened up the possibility of an activation of this remote summit. Due to a variety of factors, I ended up leaving Perth late, and I was a bit slower than expected so I only made it to Esperance the first day. Driving towards Norseman I was in two minds but the fact that a contest was in progress sealed it.
The track out to the summit was generally good (I took the first option heading out of Salmon Gums – Kumarl-Lake King road – which is claimed to be in better condition than the Lake King-Norseman road which it joins onto – highly likely true), until the second half where the famous corrugations hit, along with two muddy sections which I had expected given the rain the day and weeks before. This is a 2wd road in the dry and definitely 4wd in the wet. The road further out to Peak Elanora is actually sign posted as being impassable in the wet.

If it’s light coloured sand, you’re good, when you hit the darker brown gravel sections you need to be extremely careful with the corrugations.
Parked up at the campsite, packed a light bag, resoldered a connection on the 20m ground plane and set off. Forewarned on the final ascent, I did take climbing shoes and chalk – both unused however.

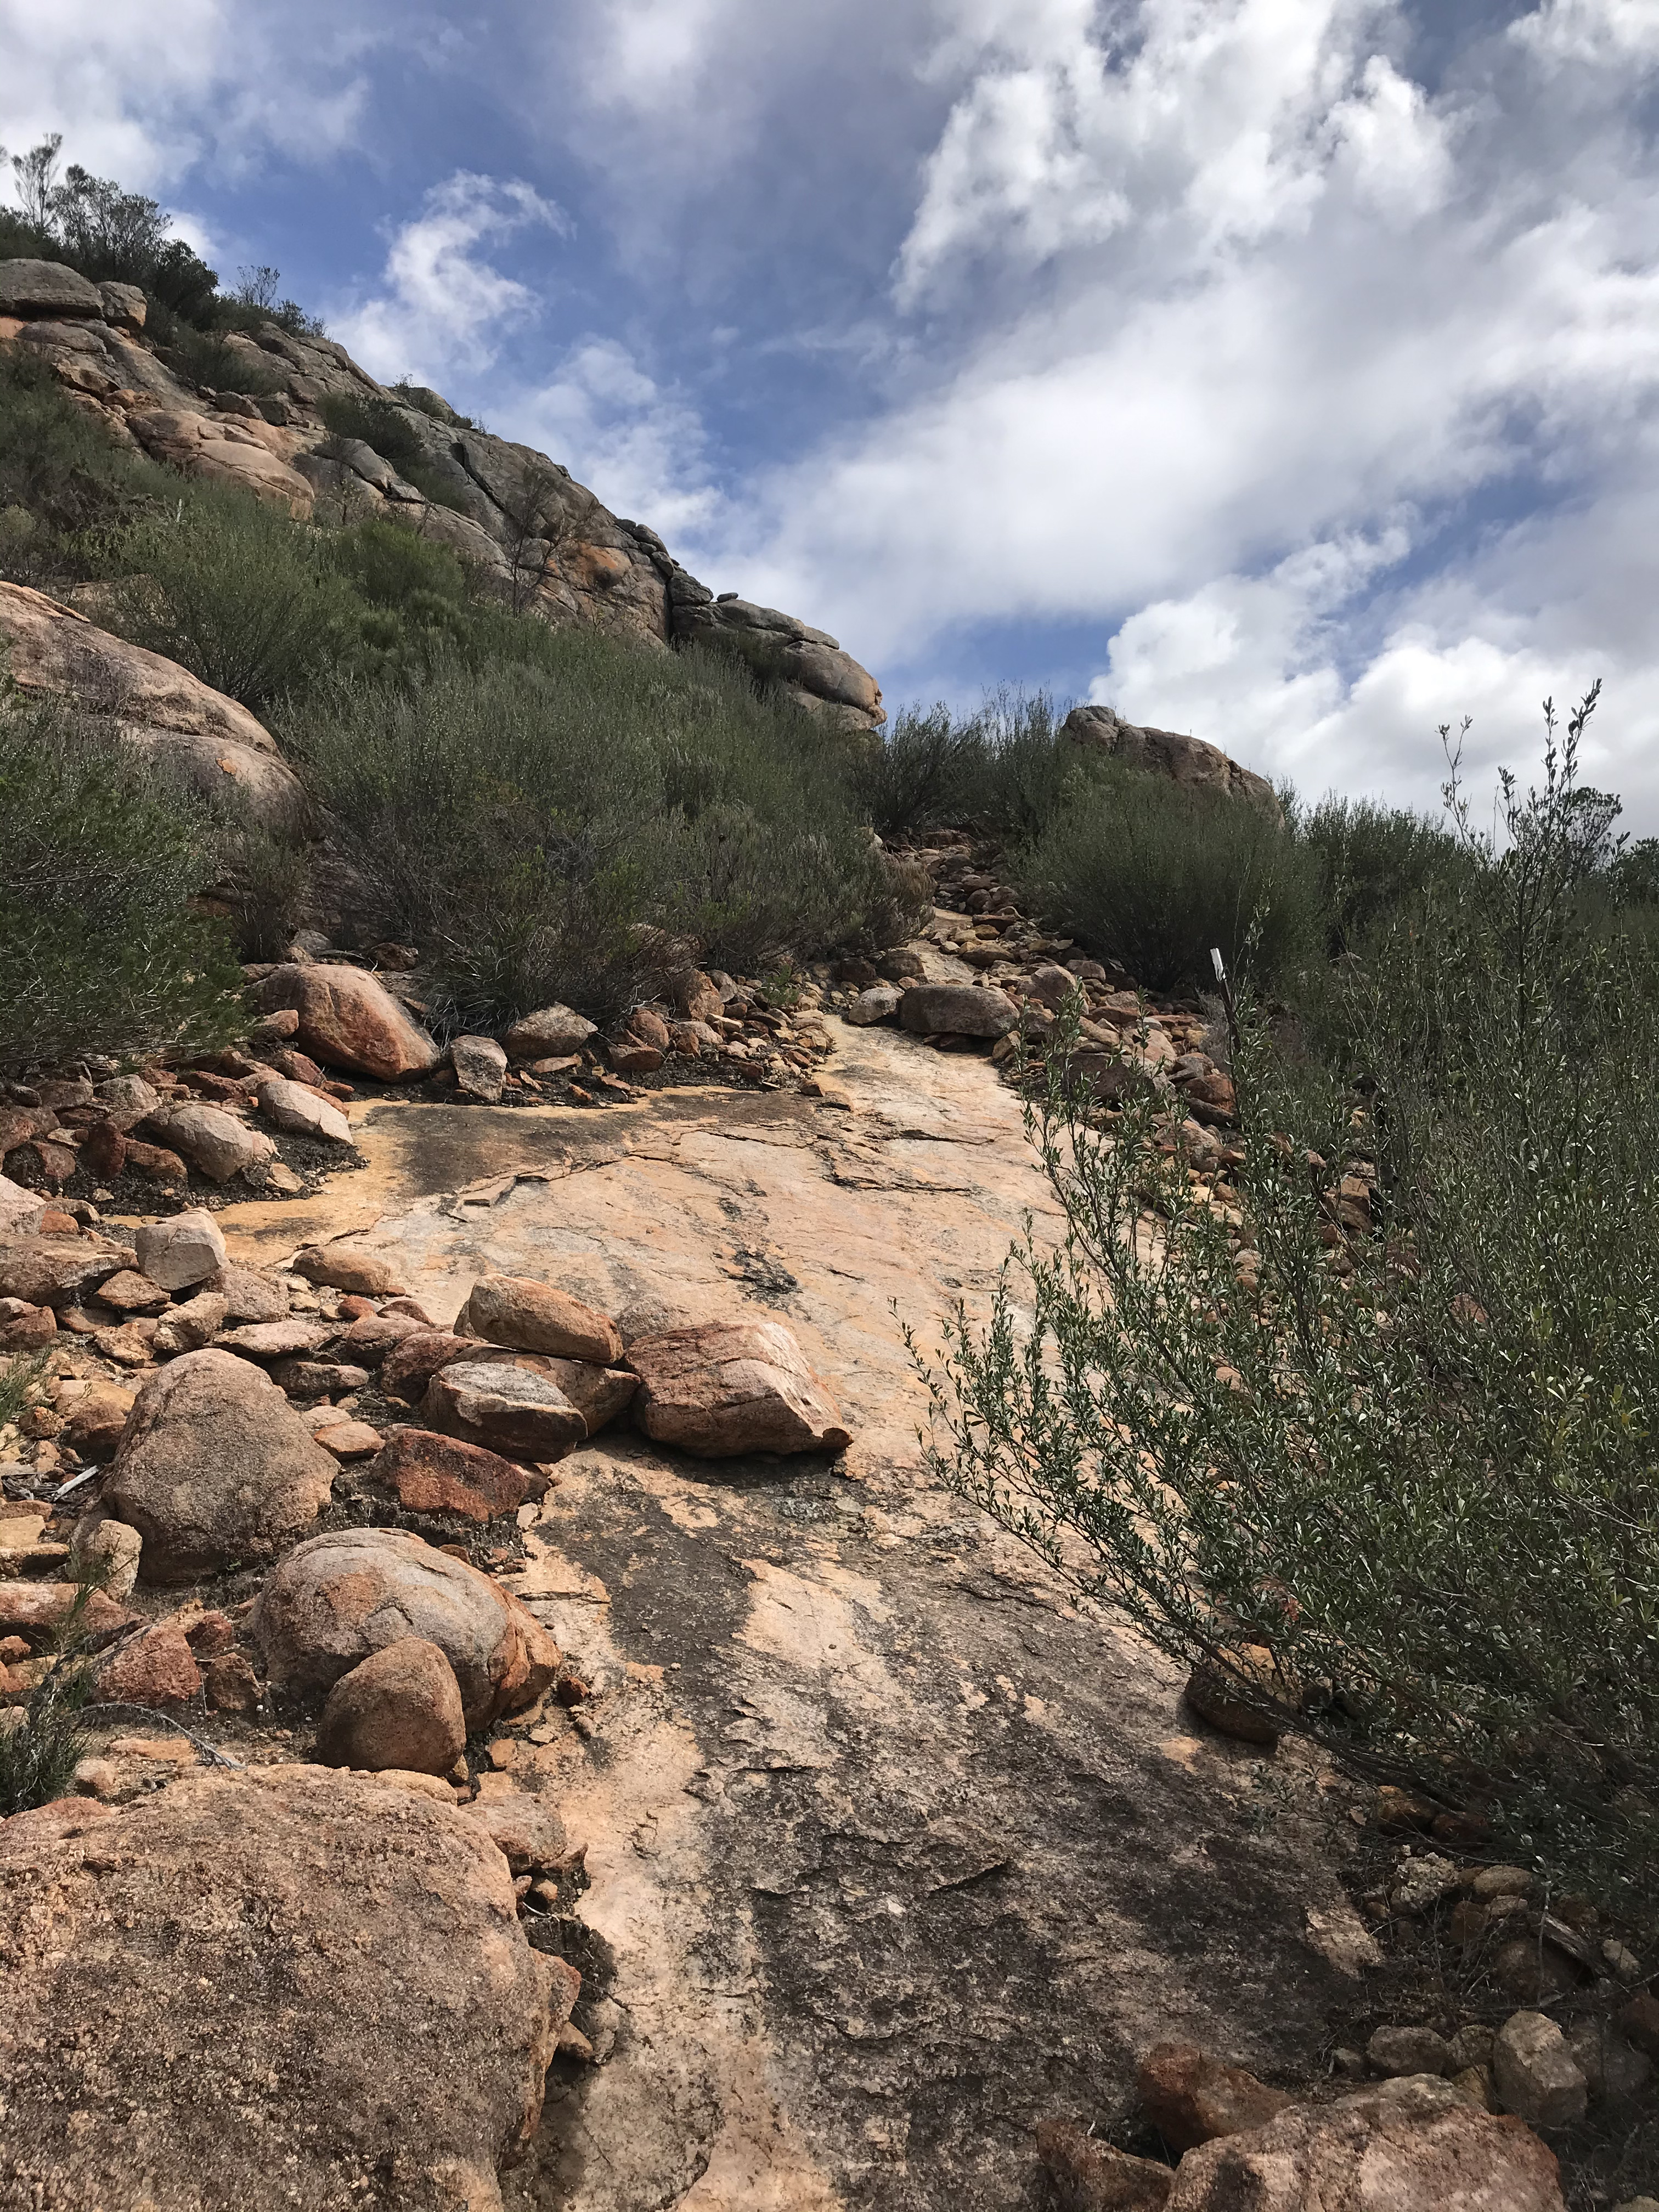
After a well defined trail at the bottom, you ended up at the first rock sections where you’re looking for the next wooden marker, which are quite frequently placed but sometimes required searching.
From there it becomes more challenging and having chosen trail runners I did roll my foot awkwardly. Bottom section is better suited for boots but we’ll get back to that.
Eventually after some bashing through bush and working your way around you’ll end up at something like saddle which is the base of the final climb.
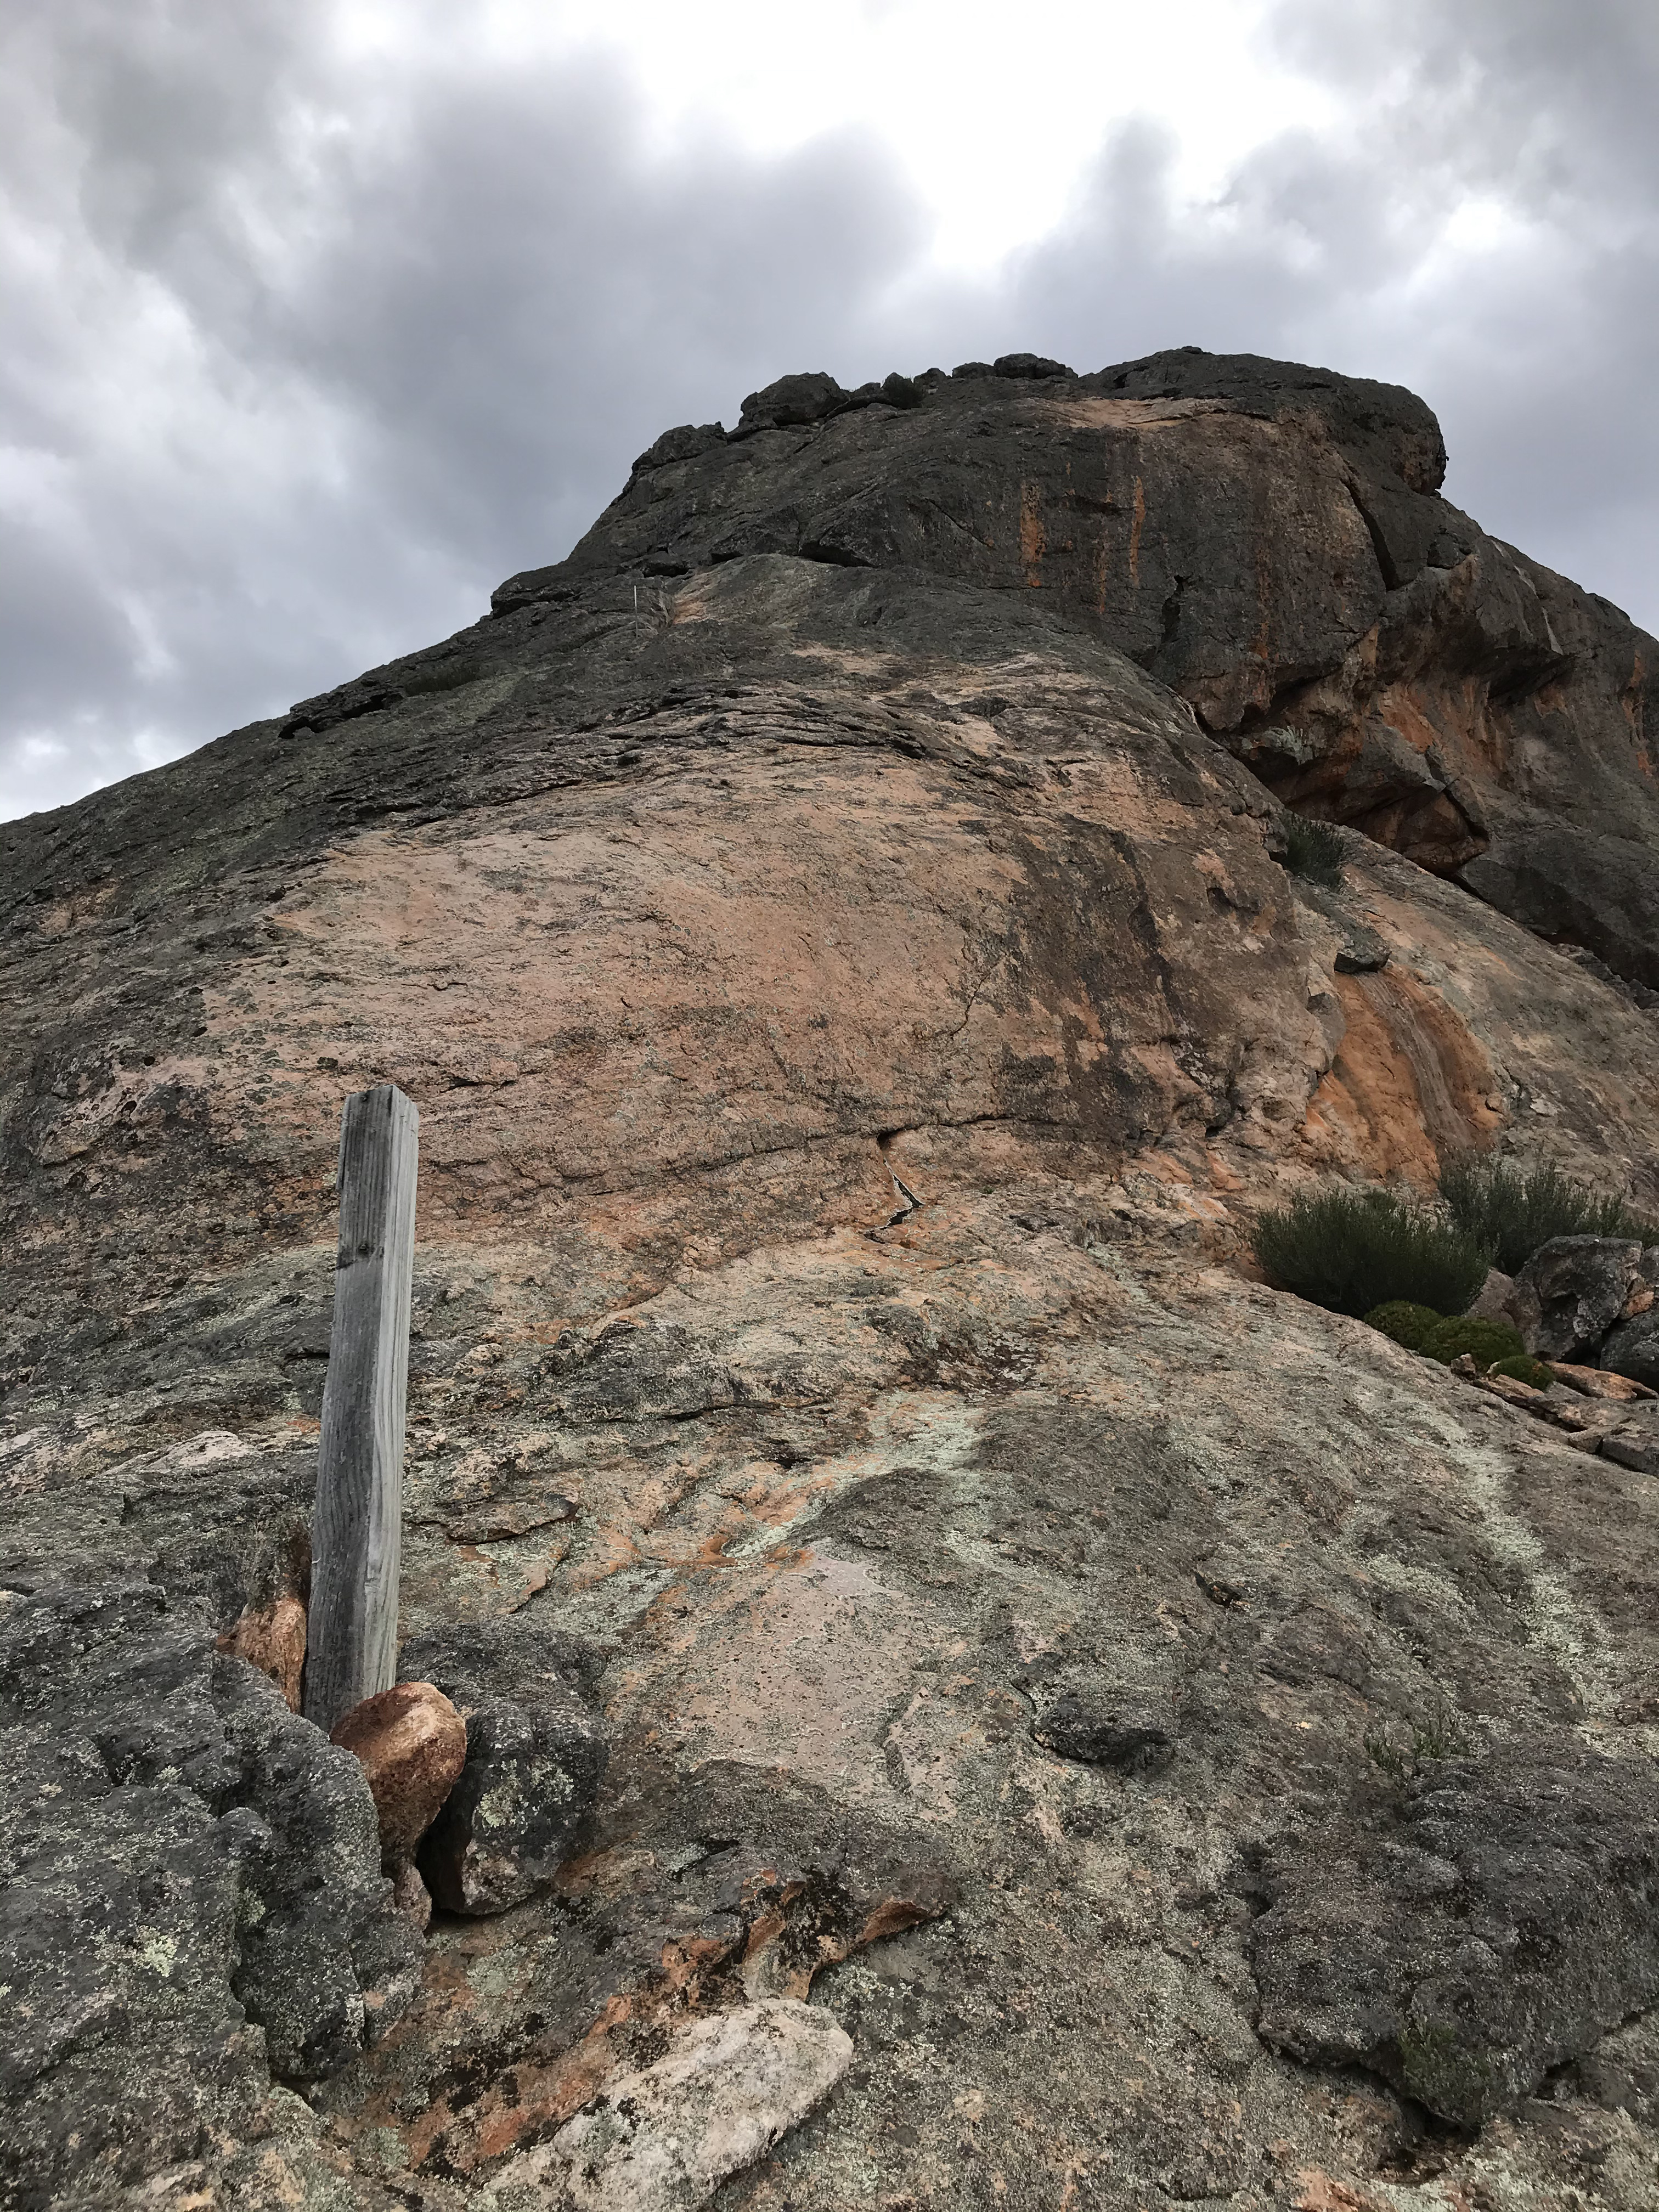
The path up is the section cleared of moss – there are no positive hand holds, it’s mostly friction based up the steep first step (about a person high). There is some amount of exposure both sides, the base is steeply sloped itself. If you’re happy to climb that – you’re good all the way up.
From here on, my opinion is a softer shoe is better than hiking boots, or at least something that will put a lot of rubber down would be preferable. My trail runners were near brand new so I wasn’t sure about the grip (hence packing climbing shoes) but was pleasantly surprised at how well they smeared.
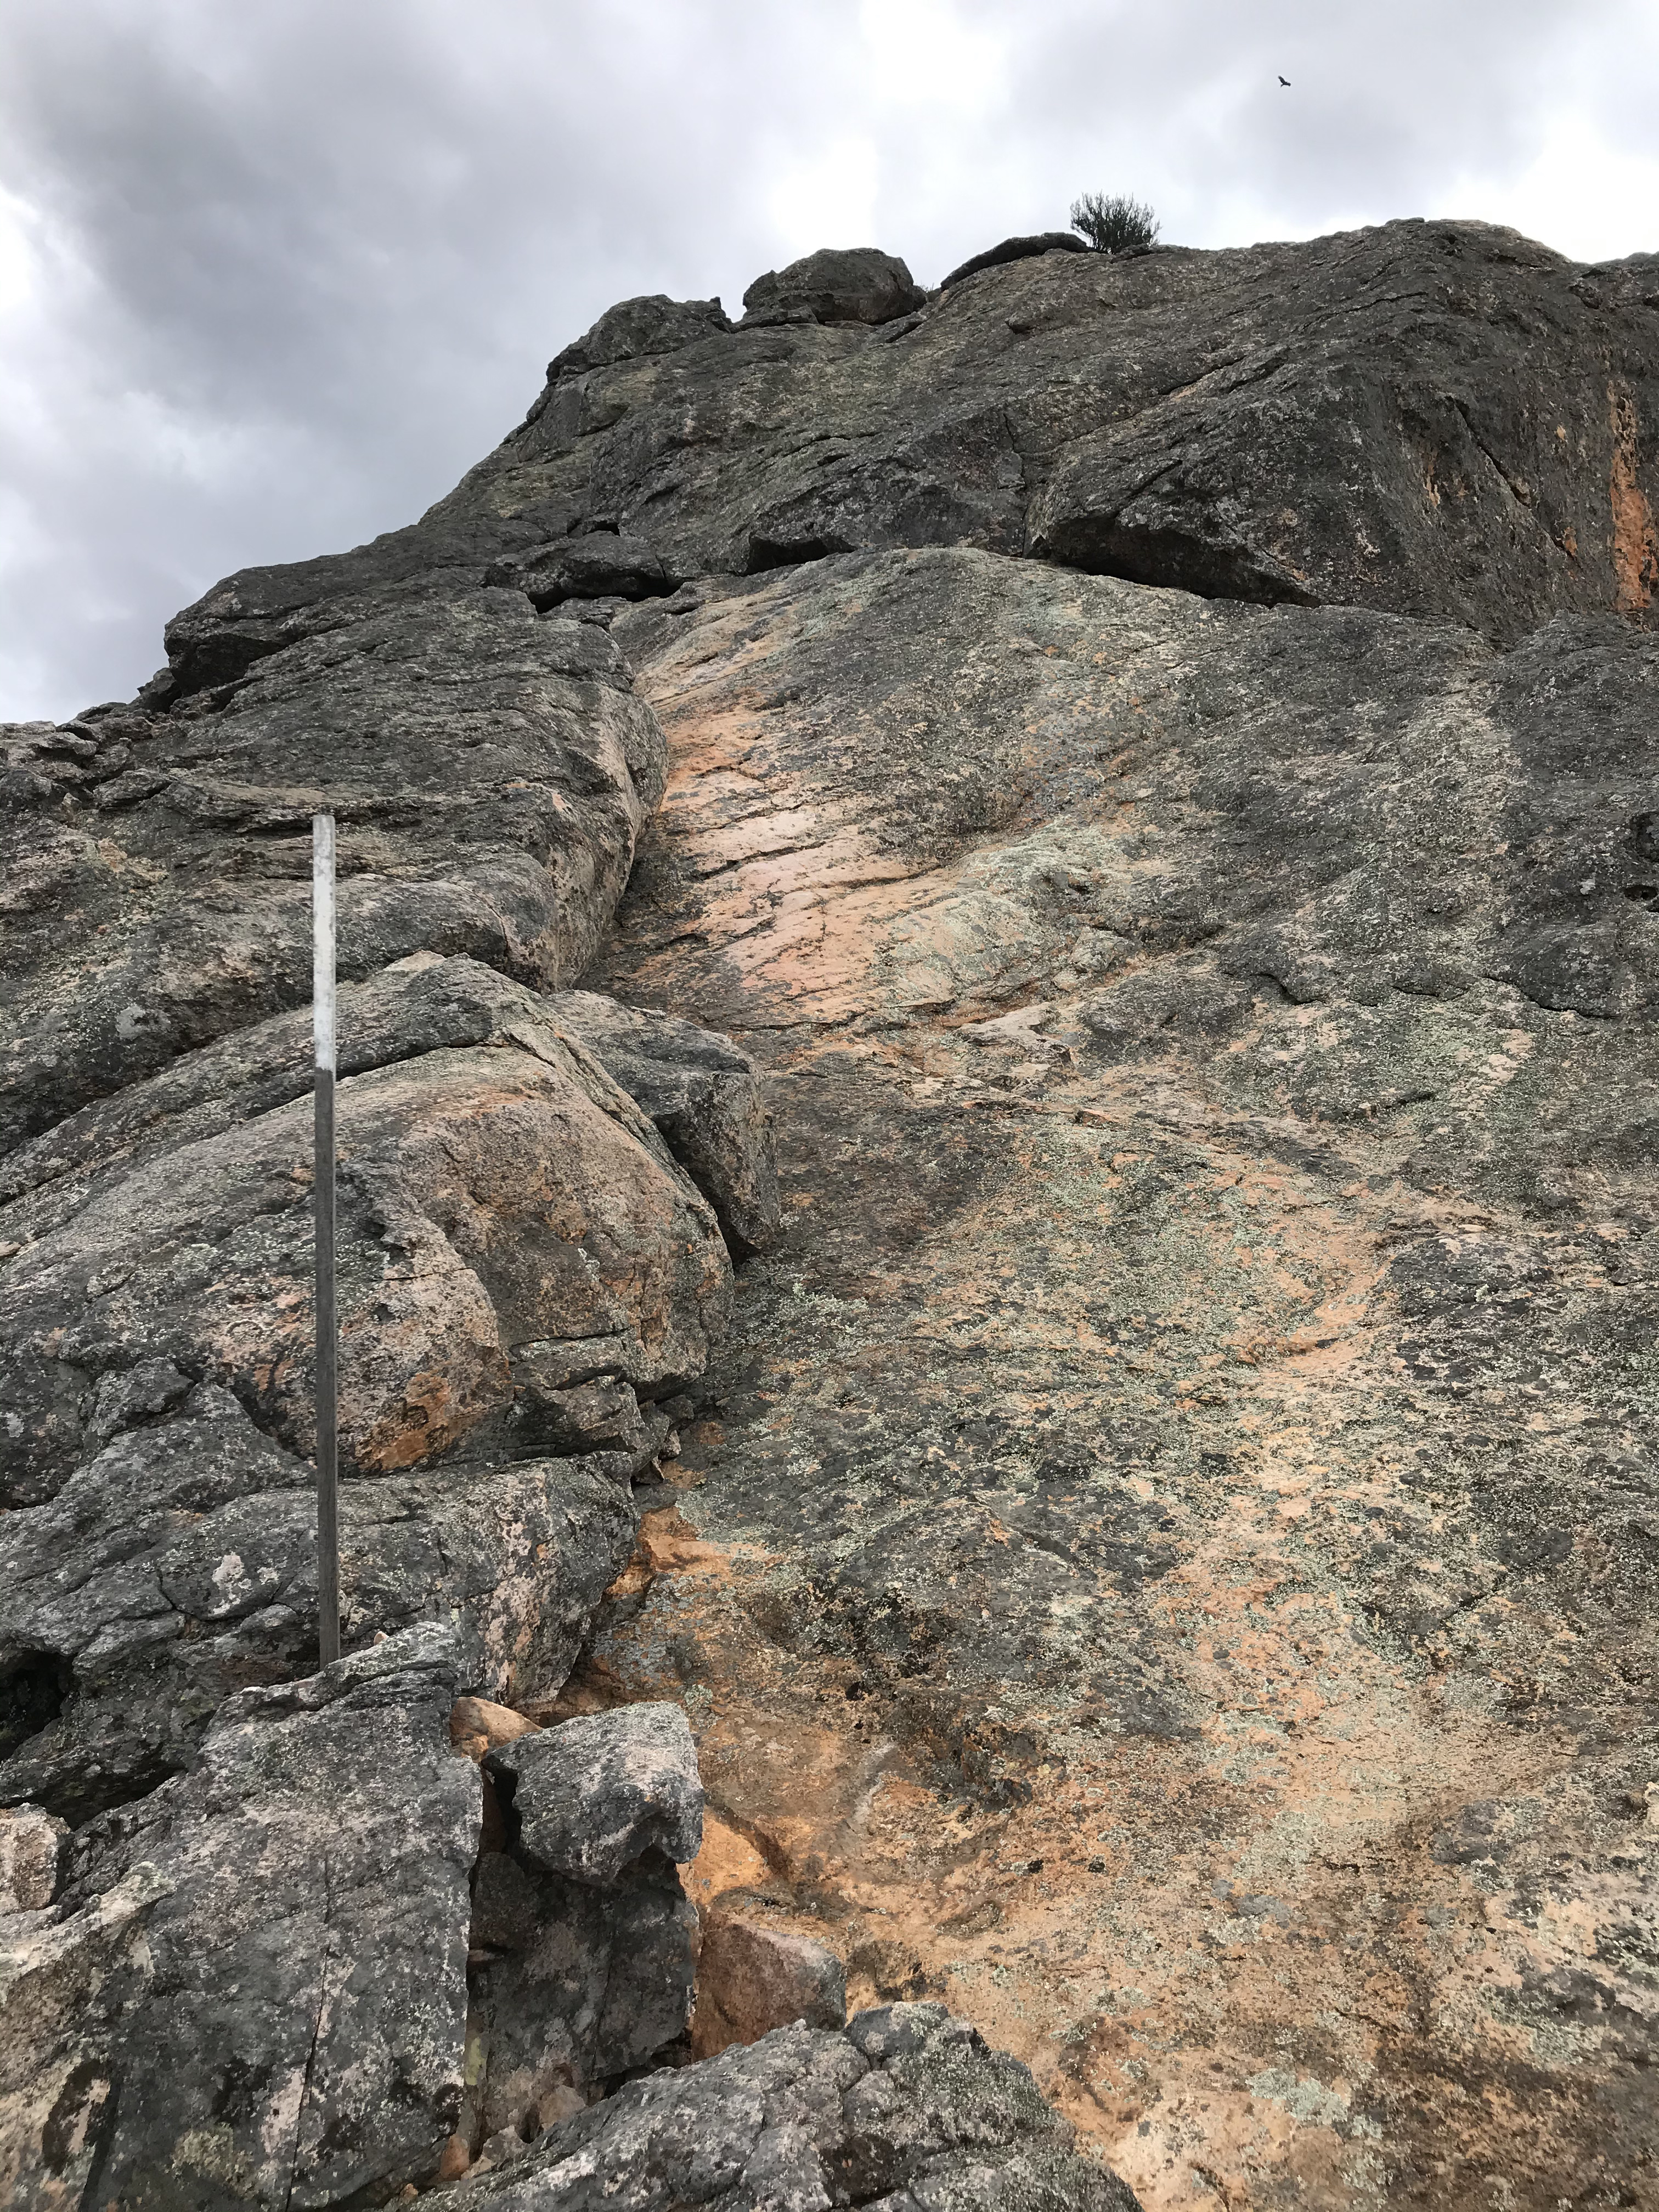

There are probably 4 short interesting sections to ascend and the thought for 2 of them is more whether you can get back down safely or not. I never really found great handholds when i wanted them, it’s mostly deft footwork, at least the way i approached it. There is a sign at the bottom implying that those of us on the shorter side may have more issues. Aside from those little sections, the rest is straightforward scrambling.
Note that this climb would be impossible in wet weather, and that applies to descending as well. Slipping in a number of places could result in severe injury or death. Having done it solo, I would also not recommend this due to the remote location.
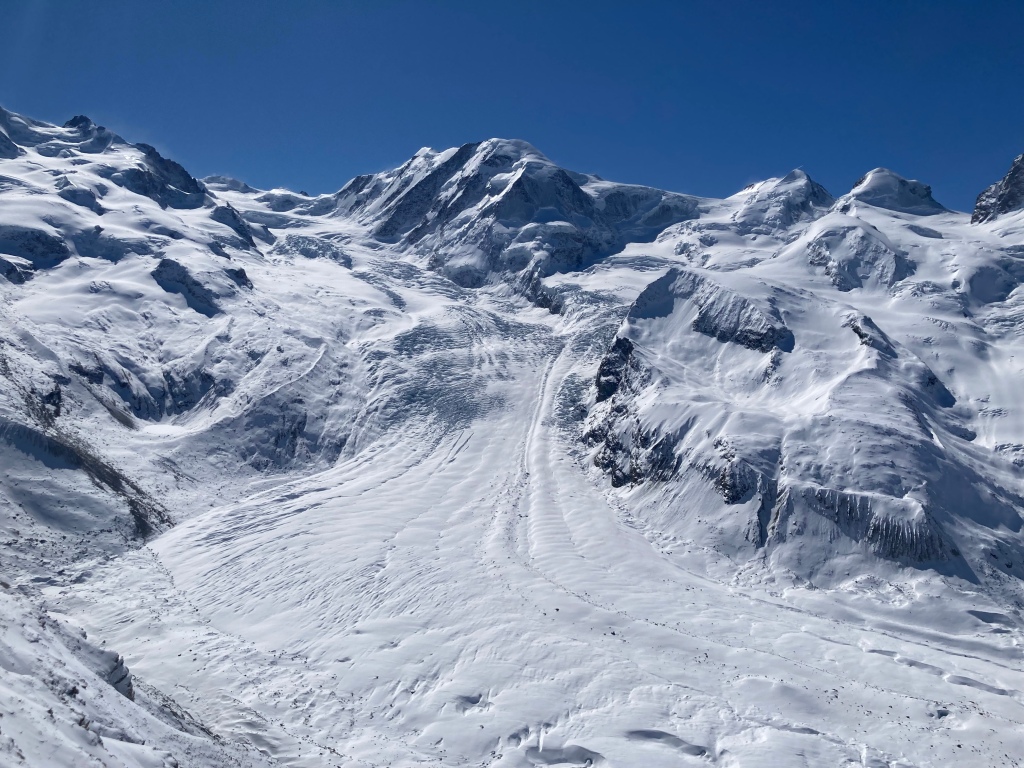
Anyway eventually reached the top in about an hour. The views over the lakes are spectacular.

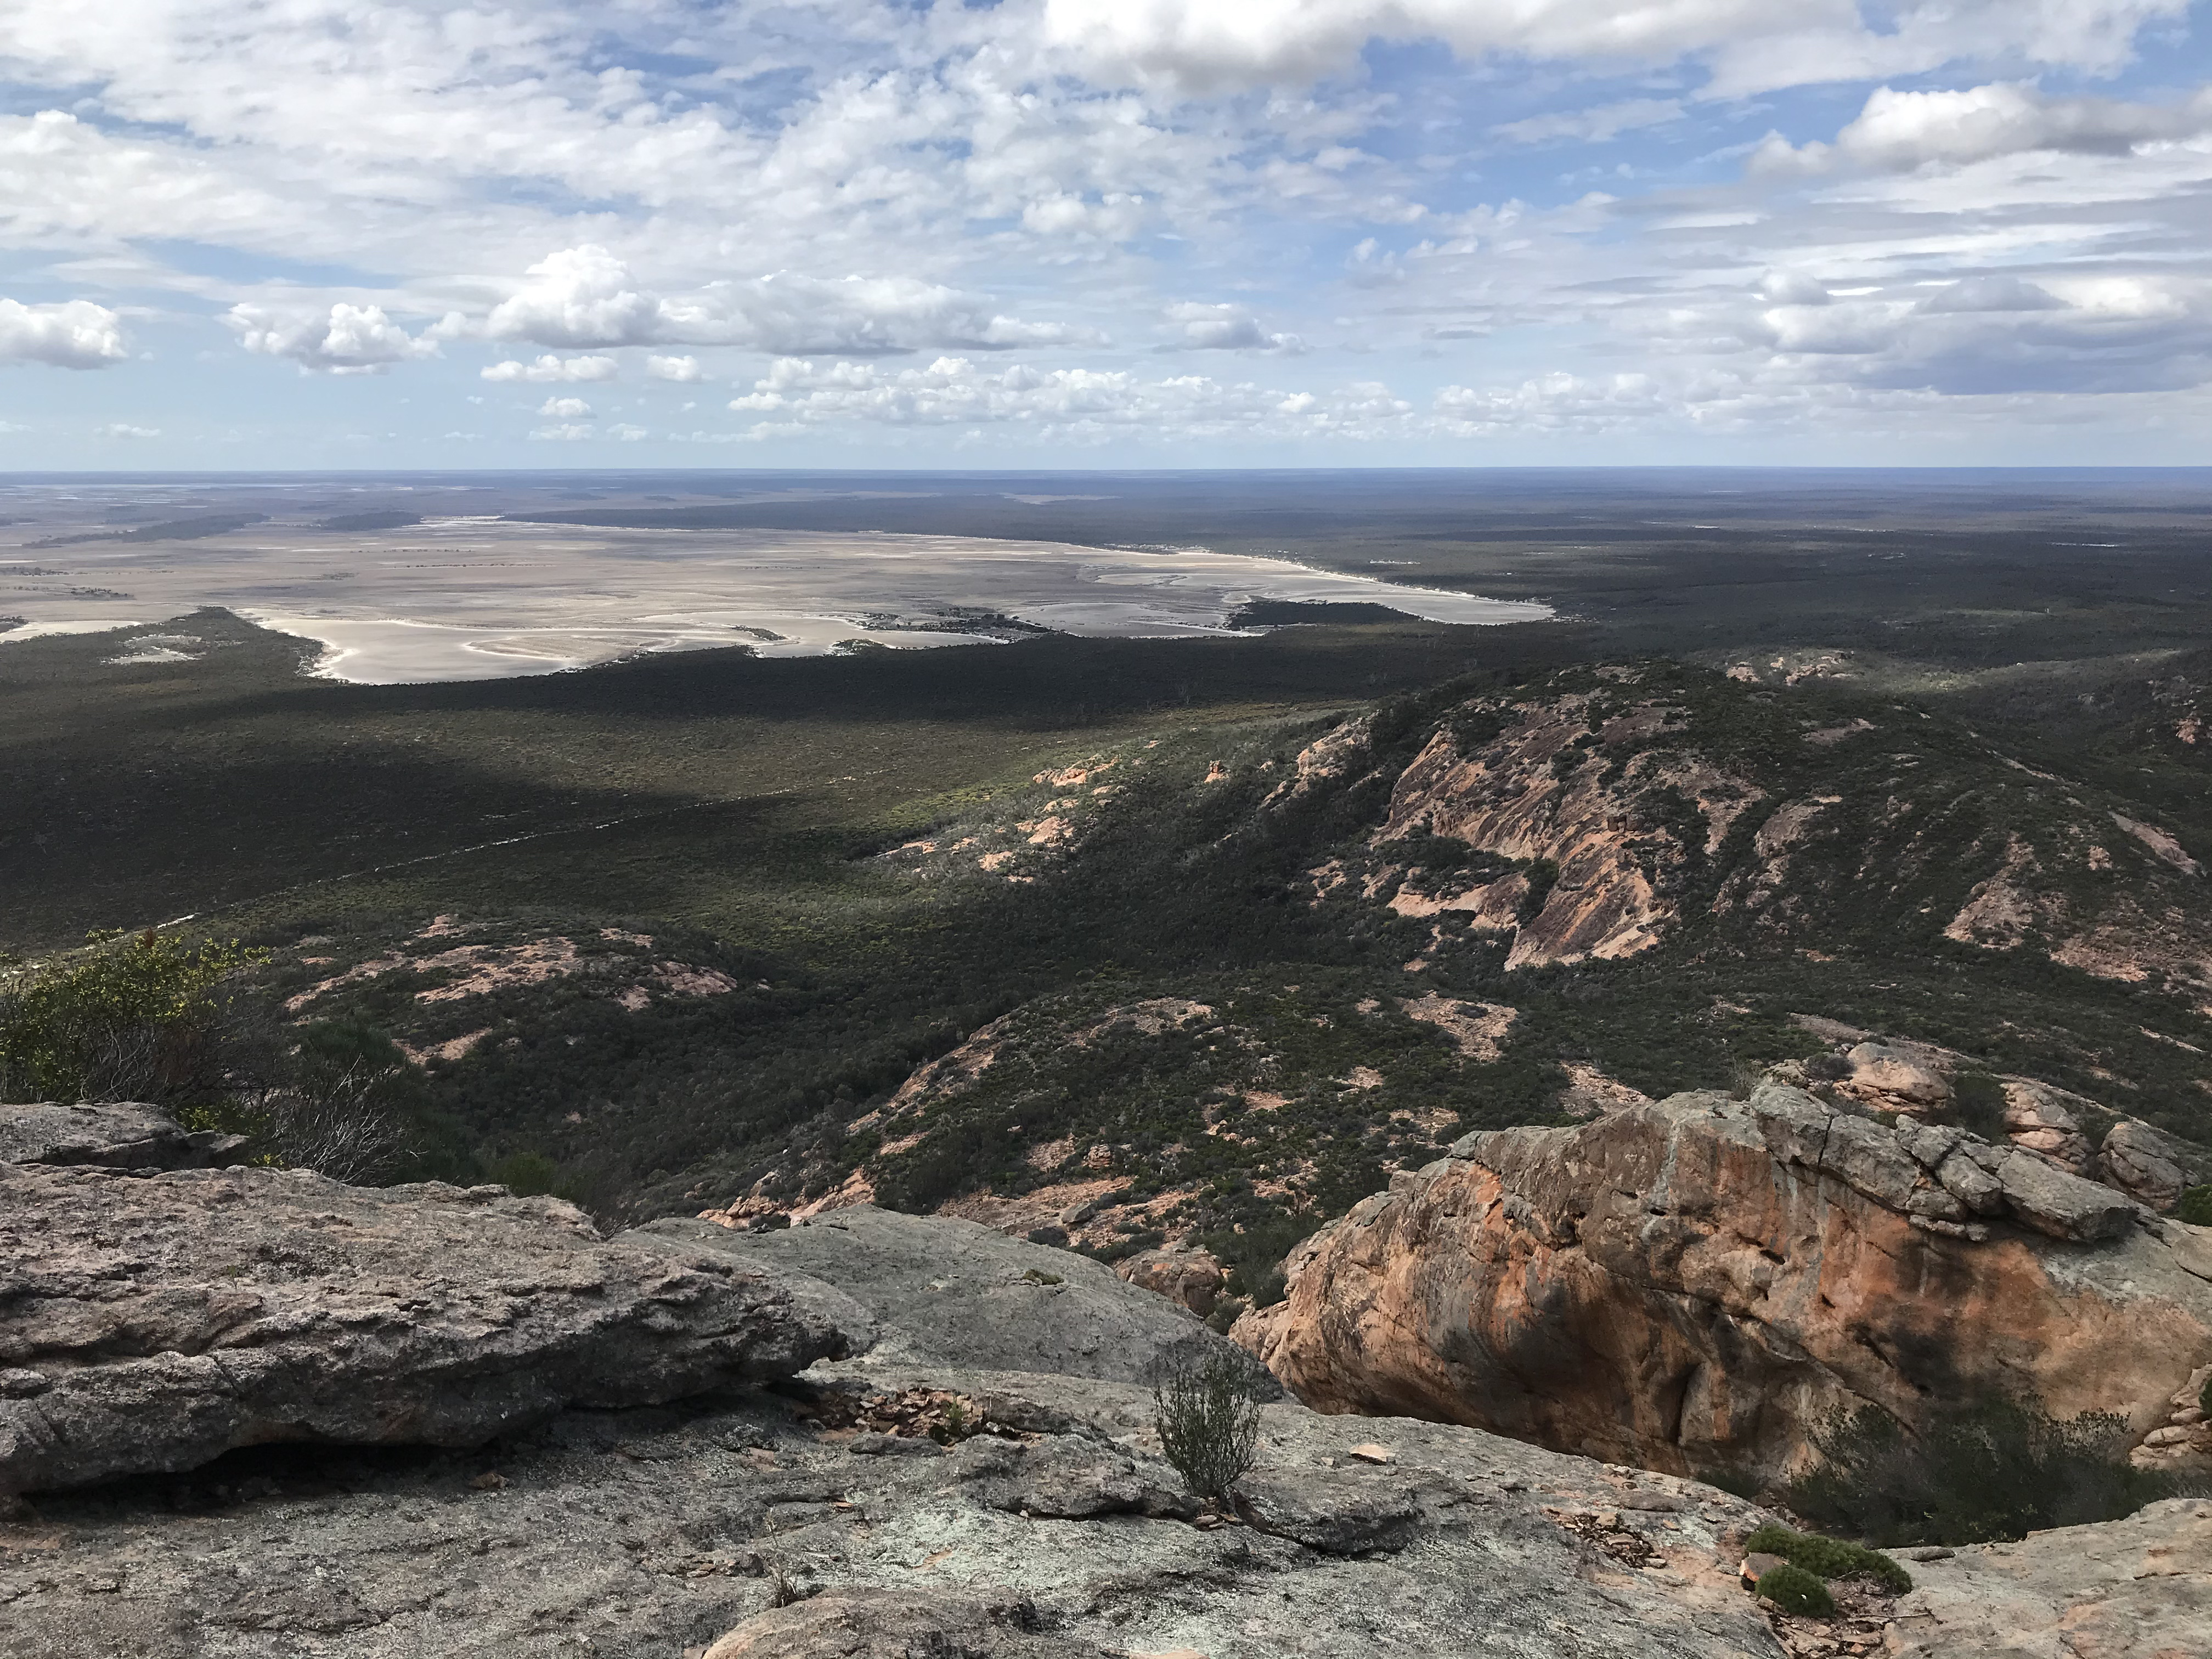
Note that the summit has steep drop offs and in some cases appears to be actual overhangs, I setup somewhat further down to just within what I thought would be 25m vertical of the summit which gave just enough room for any reasonable wire antenna.
Ground plane was setup first and bands sounded lively. First calls on 20m resulted in QSOs with ZL1TM, ZL1BYZ, VK5IS, VK3PF and ZL1WA. The ZLs were a bit of a surprise given I was only running 5w SSB.
Switching to 15M I had s9 signals, but needed to switch antennas, this time the 88ft extended double Zepp. I had better plans but they were thwarted. Unfortunately the inverted V arrangement had a major impact on signals, just going to show how much better verticals are for dx.
Nothing on 15m, but I did snag one VK6 contest station on 40m before wanting to pack up and get down – clouds were building and this is not a place to be when it rains, plus I still had around 3000km to drive.
Climbing down is interesting by itself, made more complicated with a full backpack and squid pole. The recommended approach I’d read is to slide down on your butt which doesn’t work with a pack.
The two featureless sections i lowered the pack down first with a rope (having taken the PLB from it), the others where there was a crack and corner I utilized something like a drop knee to turn my hip into the rock and the squidpole away from it. Nice and secure with all the lower body tension. Again, reliant on a good fitting shoe and good grip in the toe box/ball area. There are probably less elegant ways here as well that have greater wear on your clothing.
Again the concern is not so much the technical difficulty or height, but the consequences of slipping at the wrong point. Not a lot to grab hold of.
Descending the rest was a matter of following the poles which was more navigationally challenging than on the ascent.
The area itself is really nice – nice campsite, covered picnic area, top notch toilet and provided it’s not wet, the opportunity for two summits within a short distance.

Intentions to activate summits on the drive over to WA were thwarted by the ridiculous heat and associated fire danger. In any case I was too tired and the delay due to the Eyre Highway being closed meant I just wanted to push through to meet the family.
Arrived in Esperance to find the nearby national park had been evacuated that day due to new bushfires.

It reopened today so we jumped at the opportunity and took the 20km beach run along Wylie Beach to the park. Sections are so good you can easily do 60km/h, but there are some short softer and rutted parts.
We came awfully close to the (contained) fires and crews dealing with them.


May have a look at VK6/SG-010 tomorrow.
Or floor…
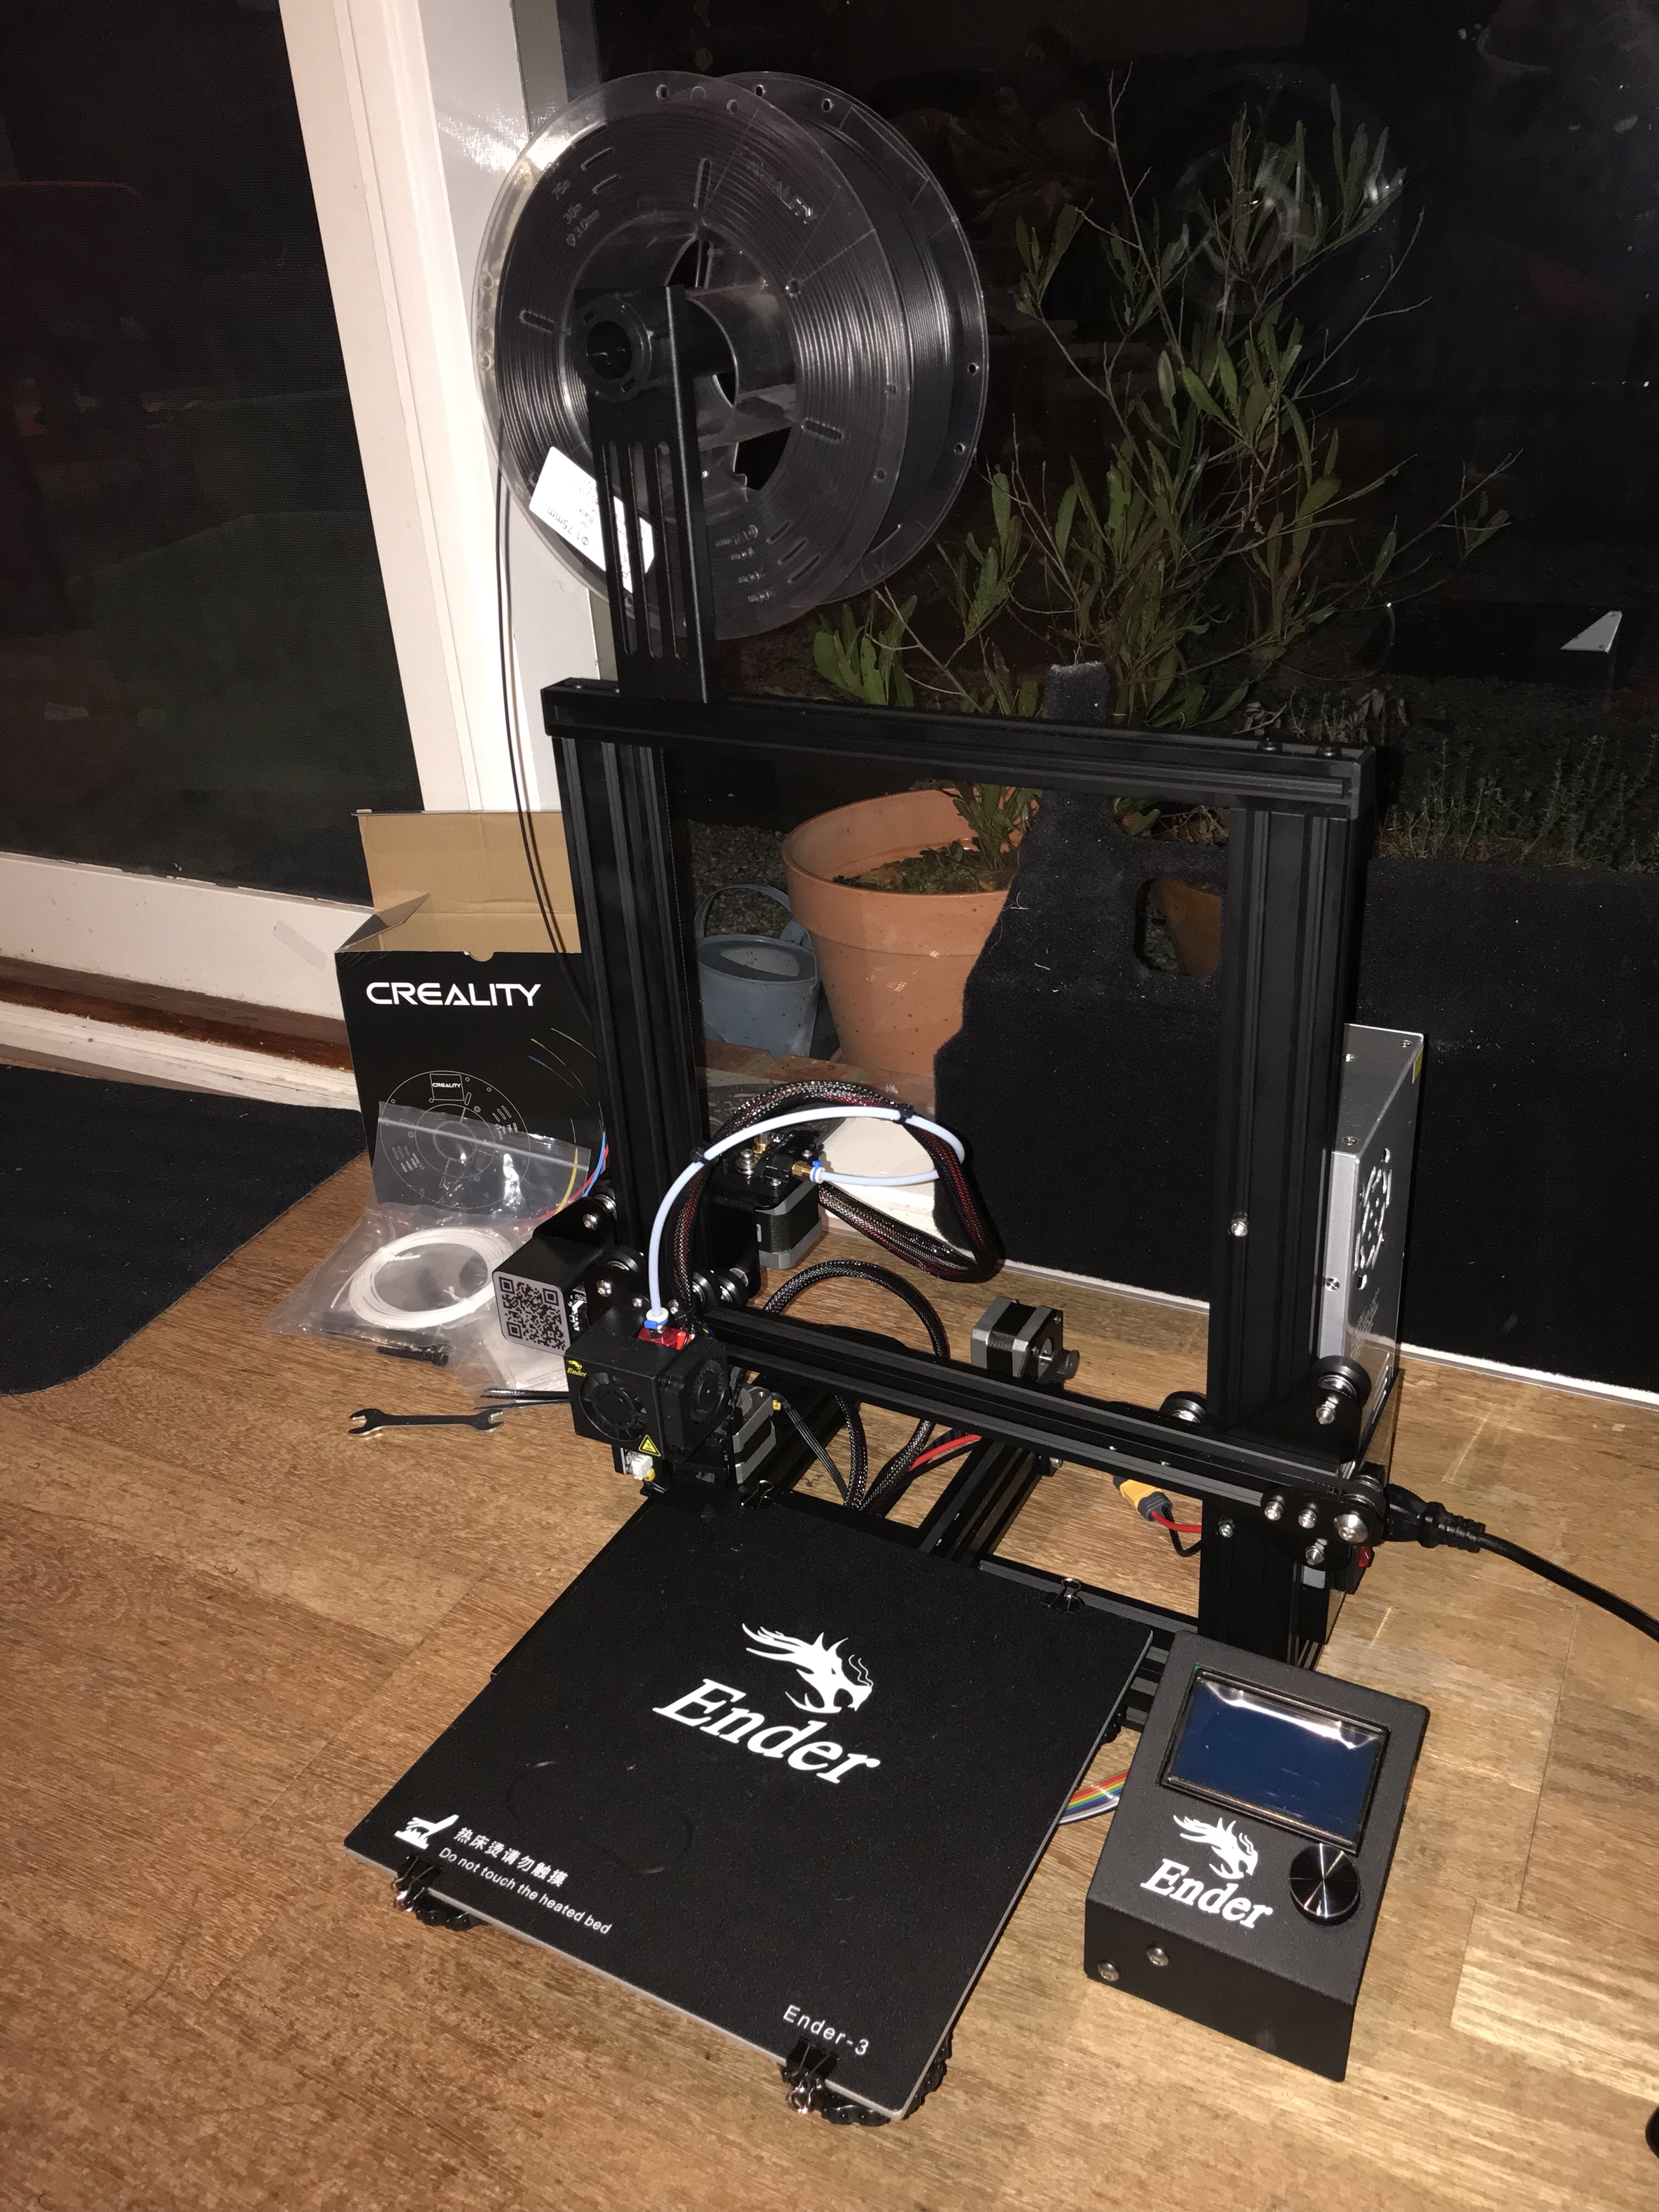
Possibly the most popular cheap but good/excellent quality 3D printer right now. Decent build area of 220×220, a big community, and compatibility with common components. Hotend needs upgrading to allow more interesting materials, but already started on the knobs for the mcHF UI board, currently being interfaced with my old SoftRock RXTX 6.3.
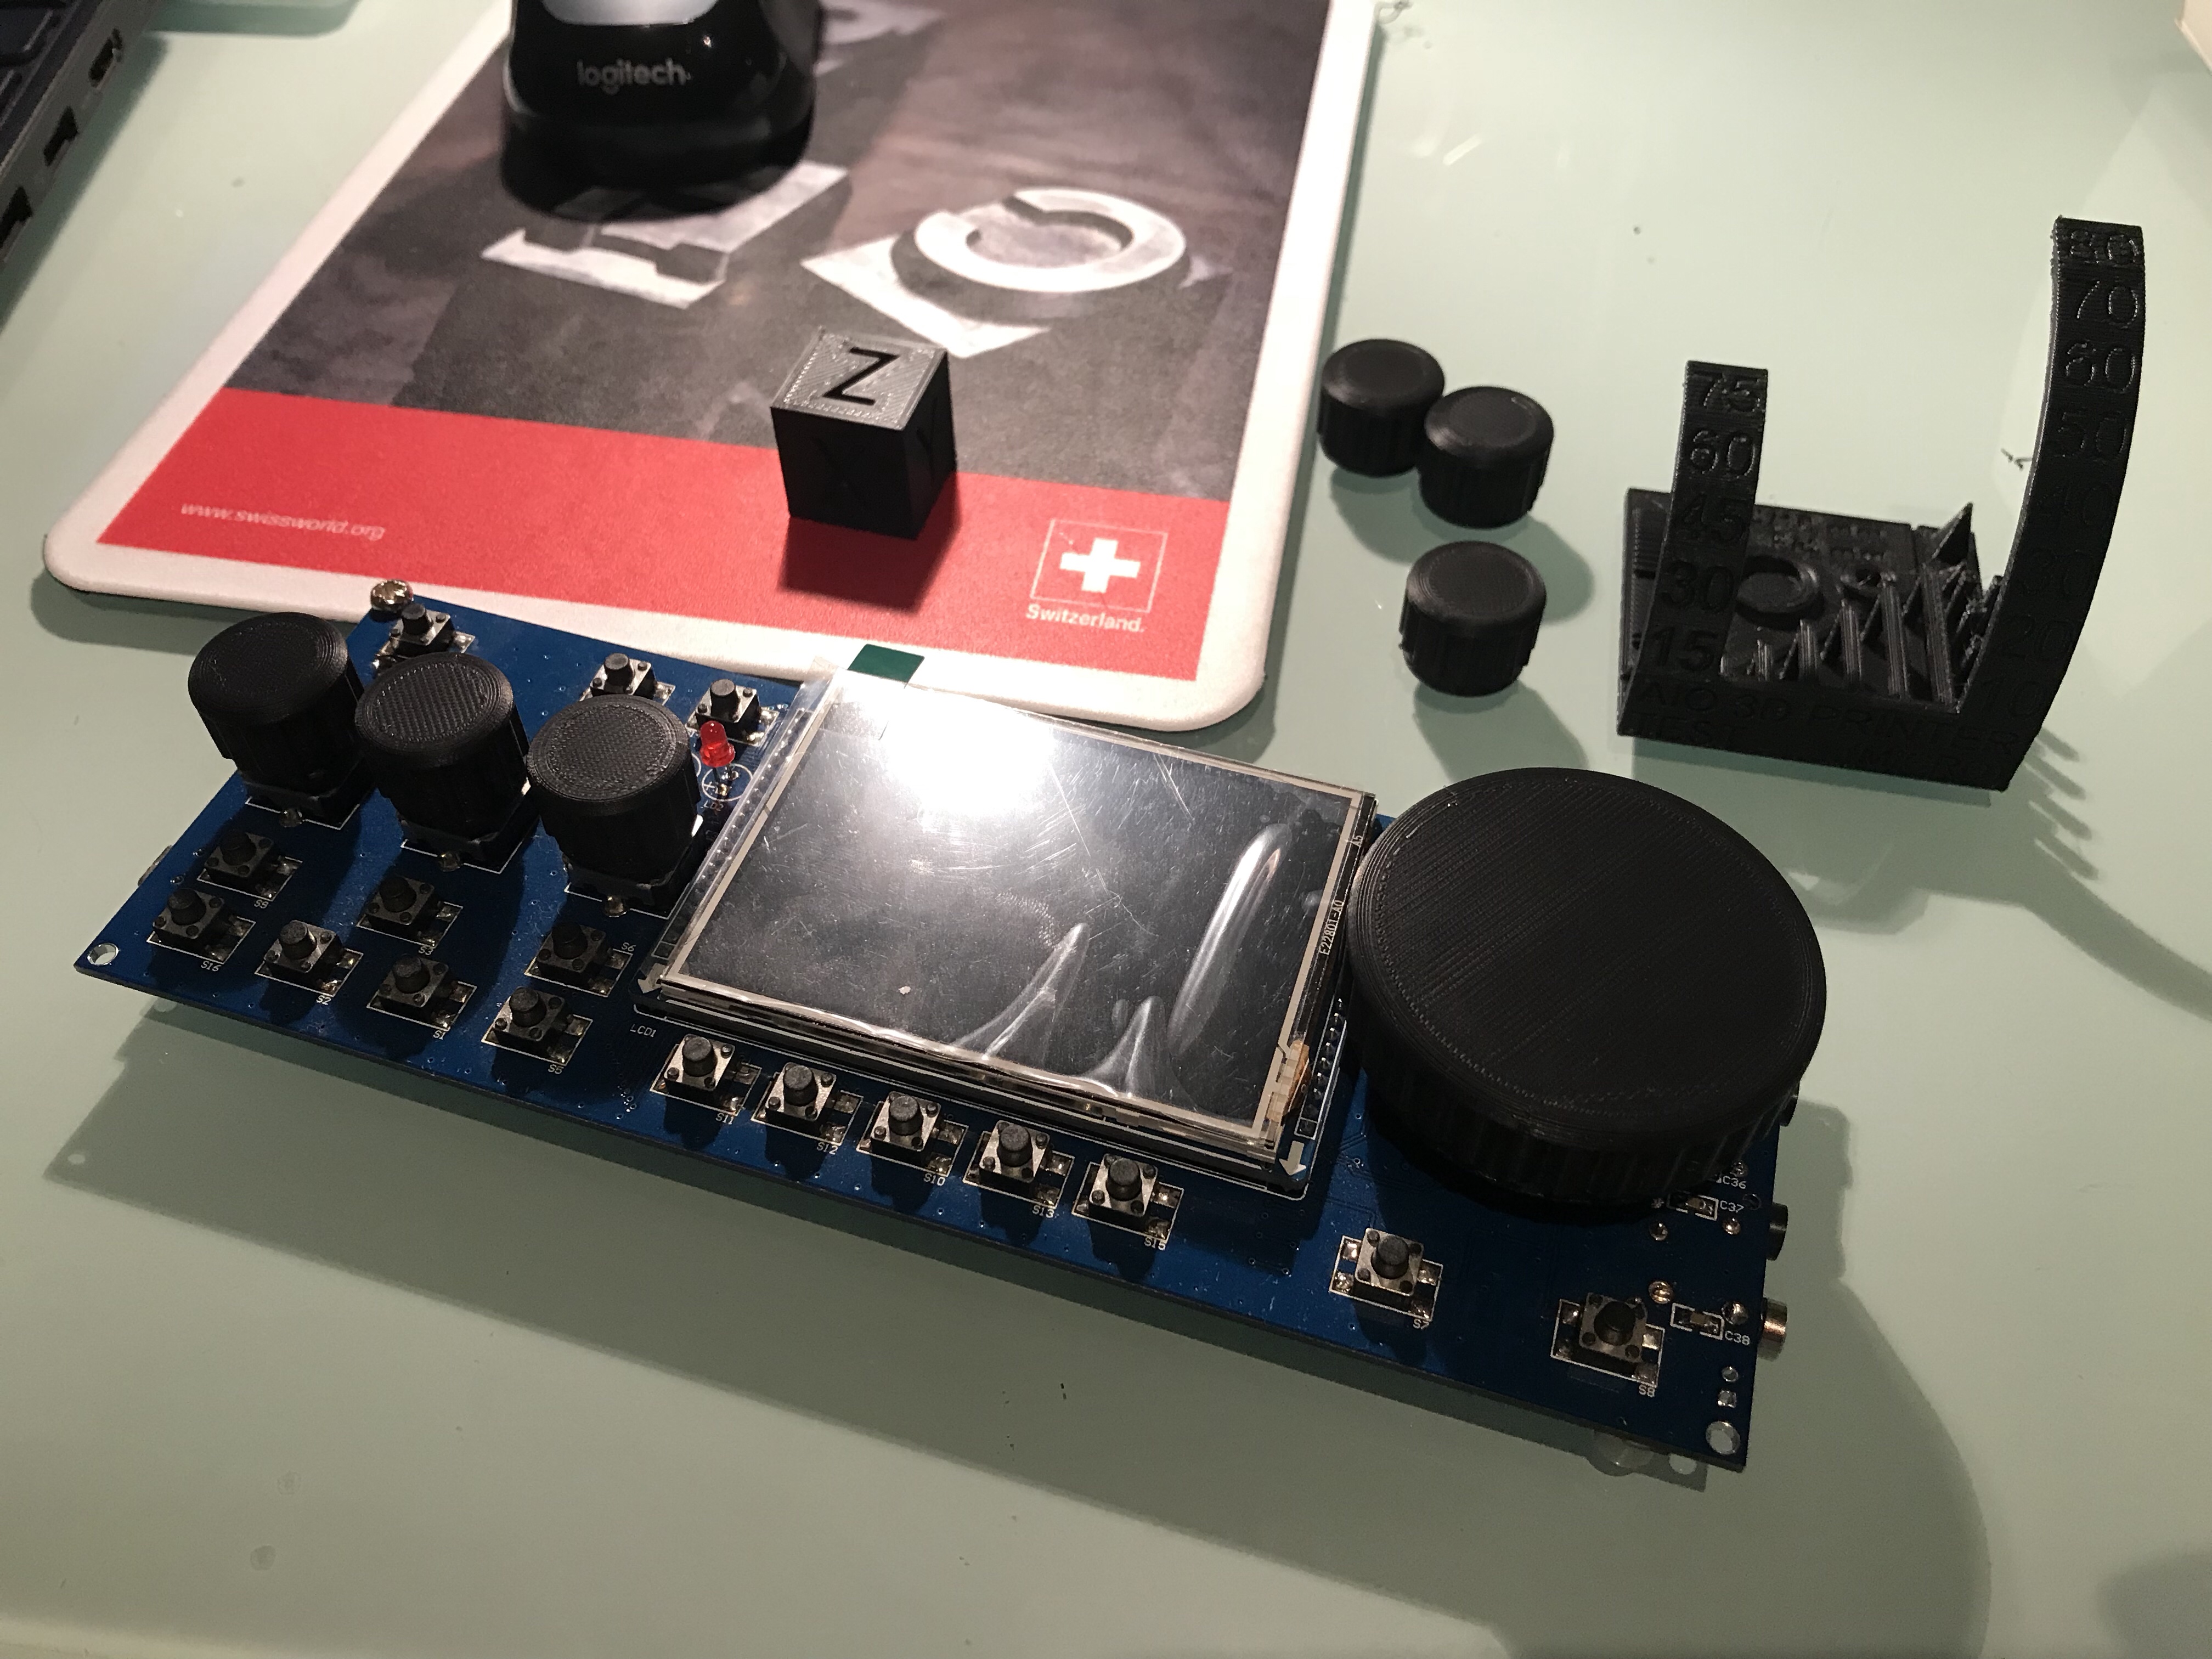

Funny how 3D prints look better in real life than magnified on a screen – the layers above are 0.12mm and barely noticeable to the naked eye.
Only PLA at the moment so no leaving in hot cars or operating in WA, but at least it’s usable and will allow me to rework Chris M0NKA’s original front panel for my purposes.
Finally finished putting the finishing touches on my limesdr mini, namely a 3D printer enclosure and a fan. I went with the quietest fan possible which unfortunately meant 10mm thick so it looks a bit excessive…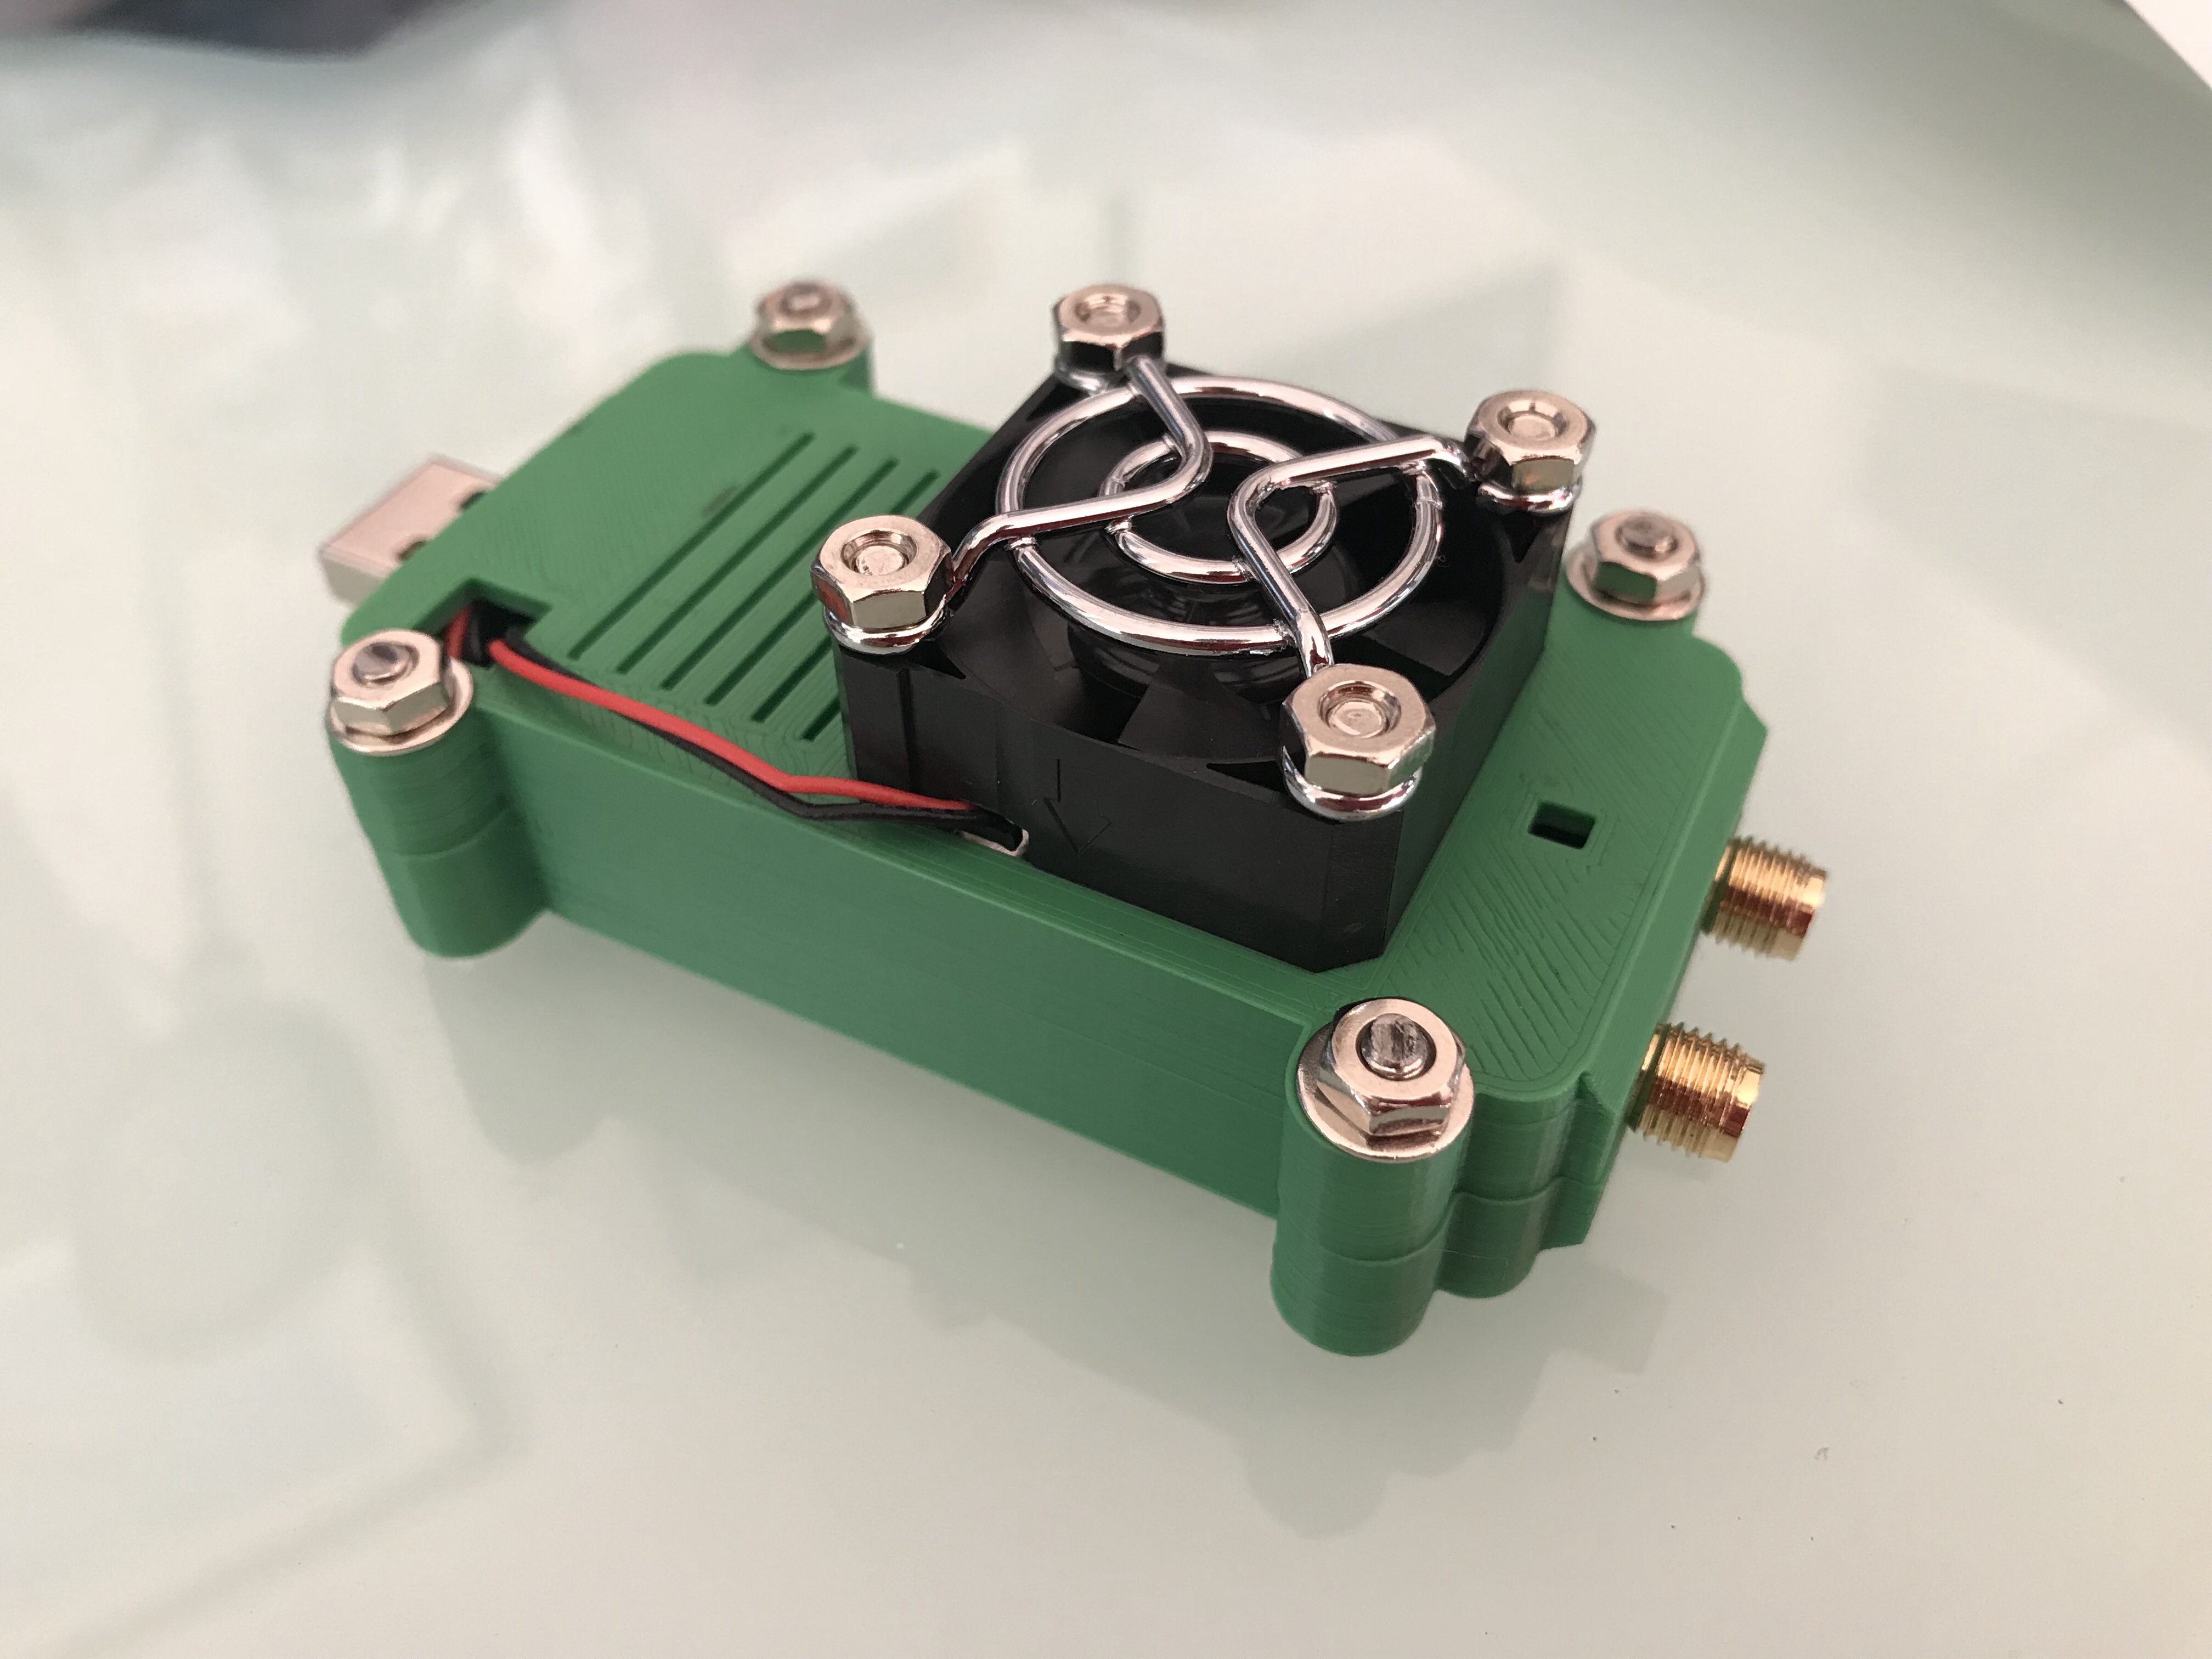
Longer term this opens up lightweight options for 2.4 and 3.4Ghz
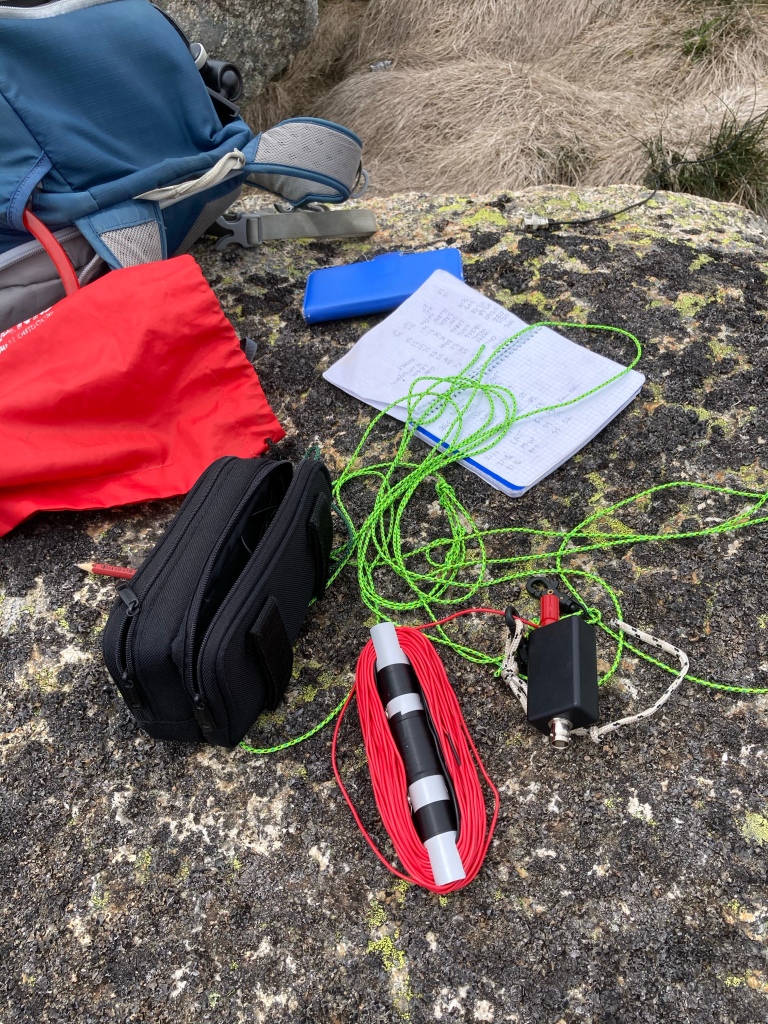
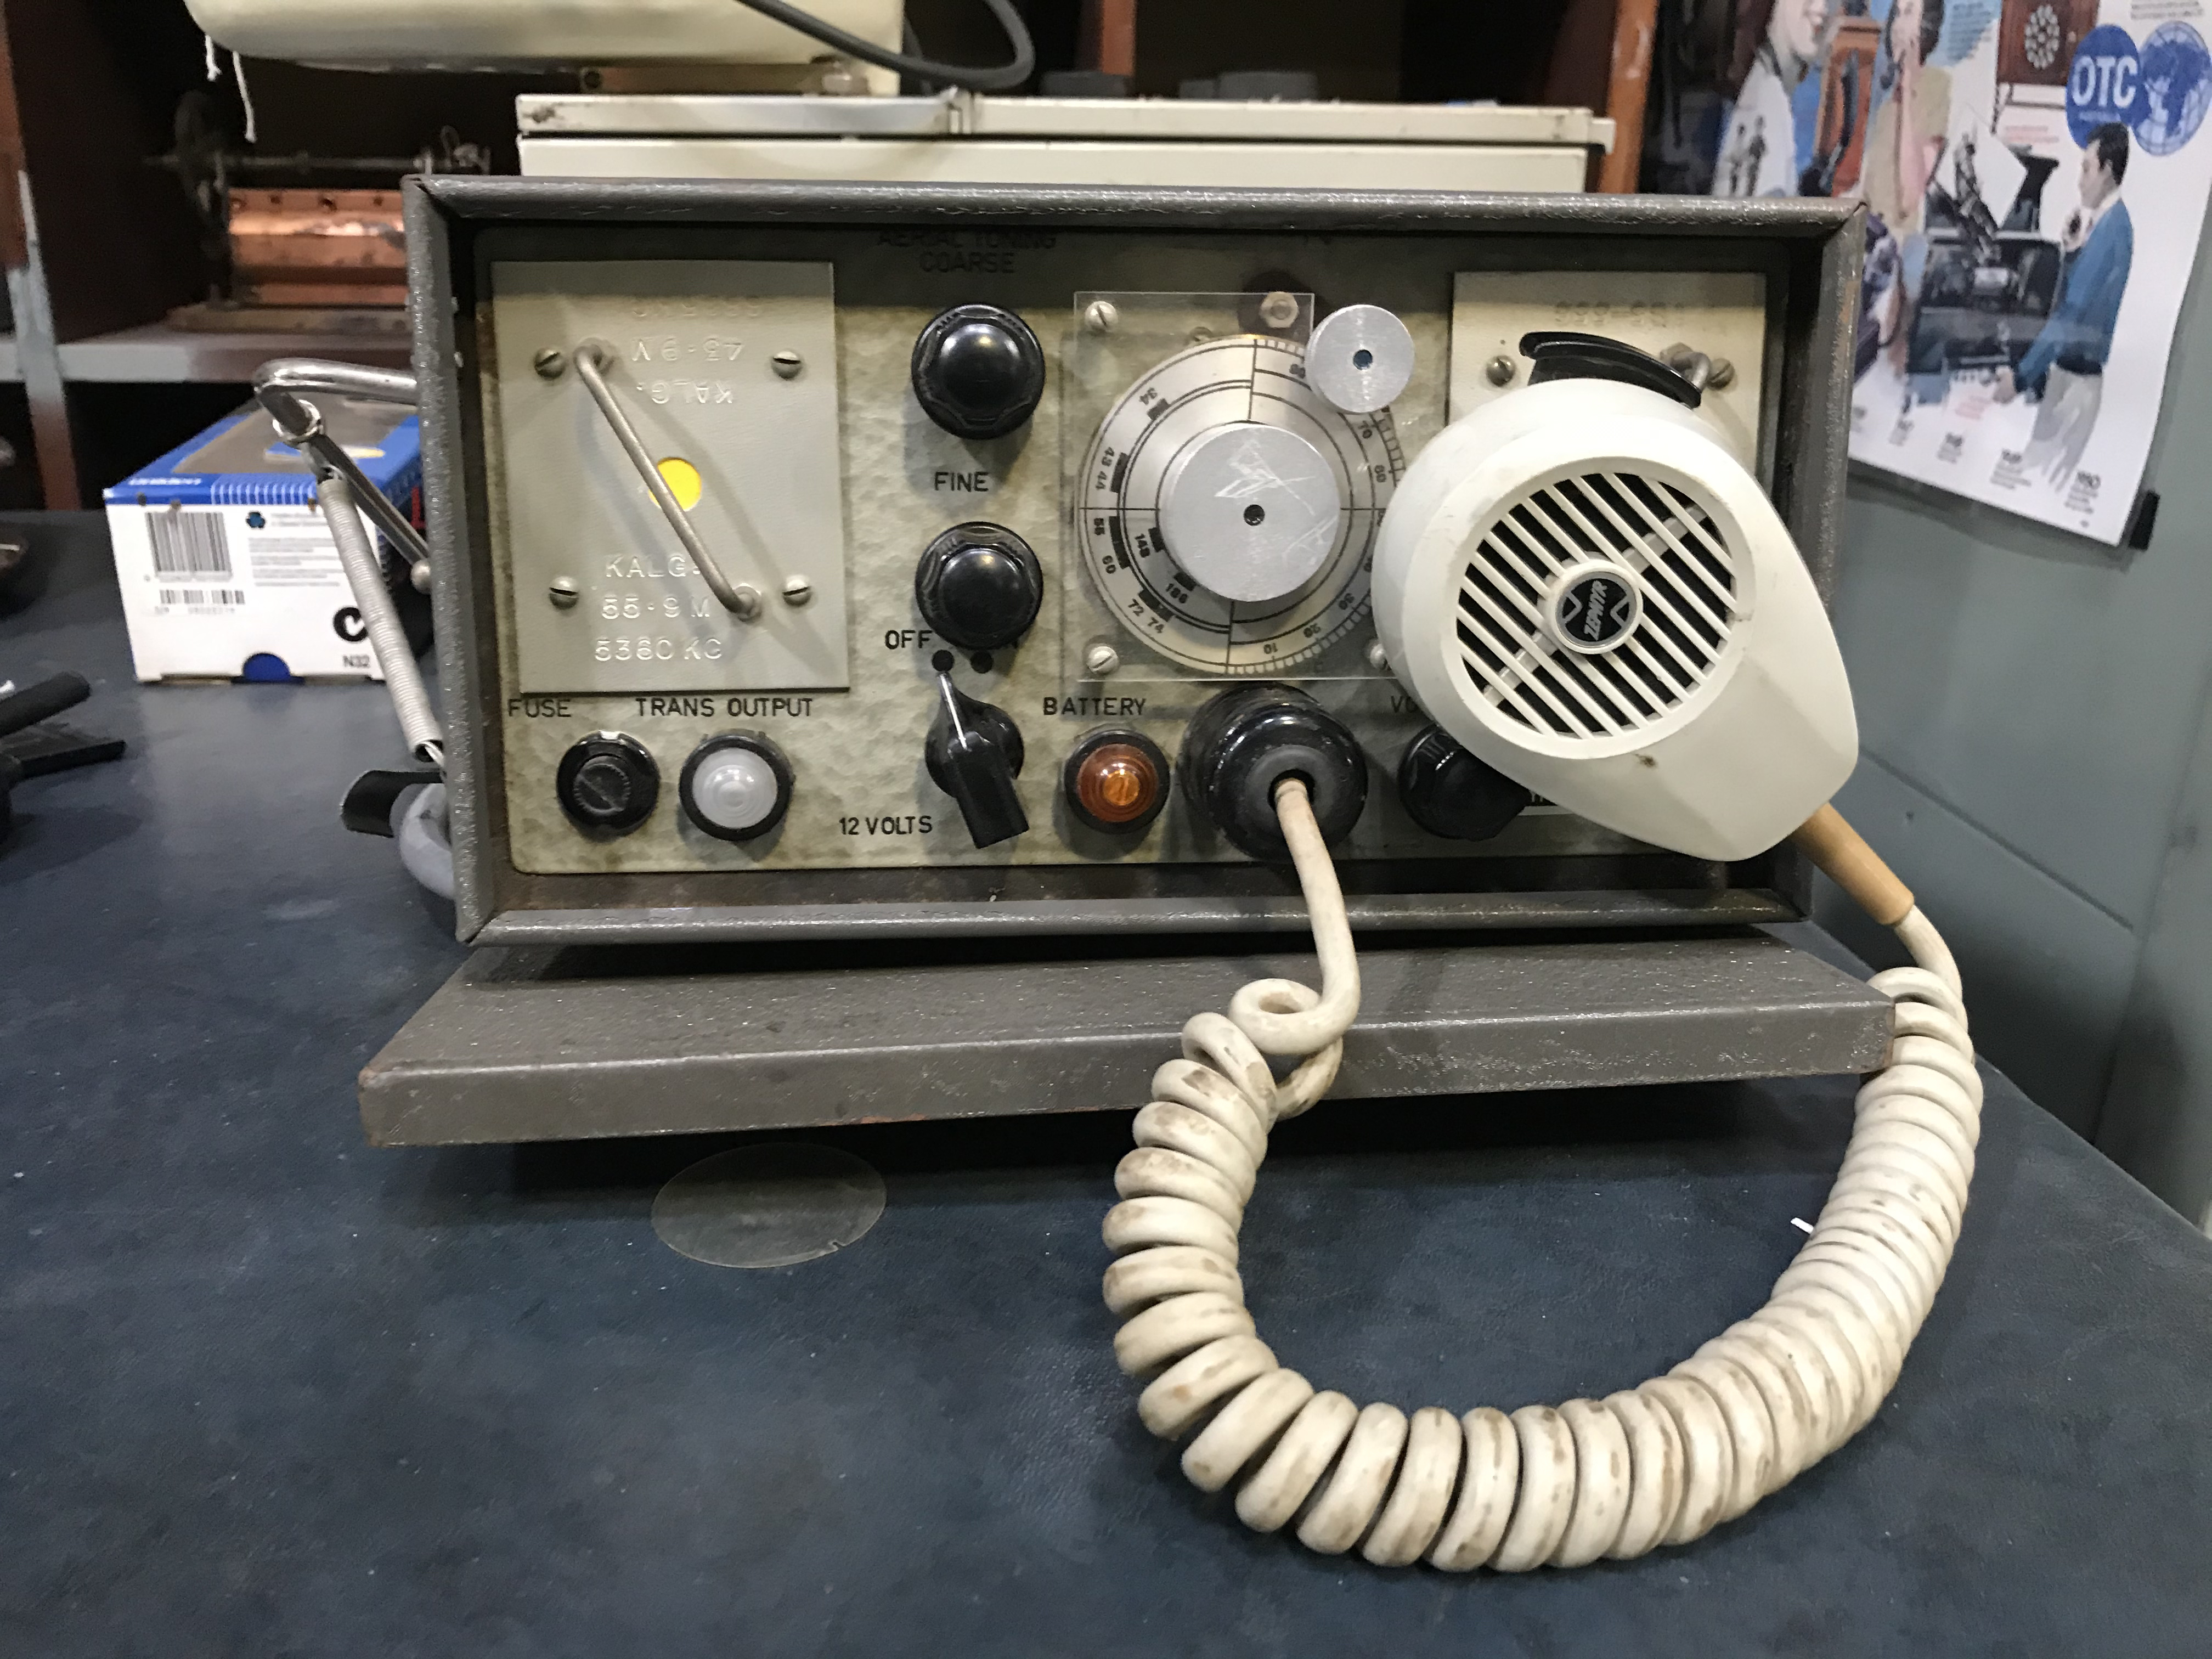
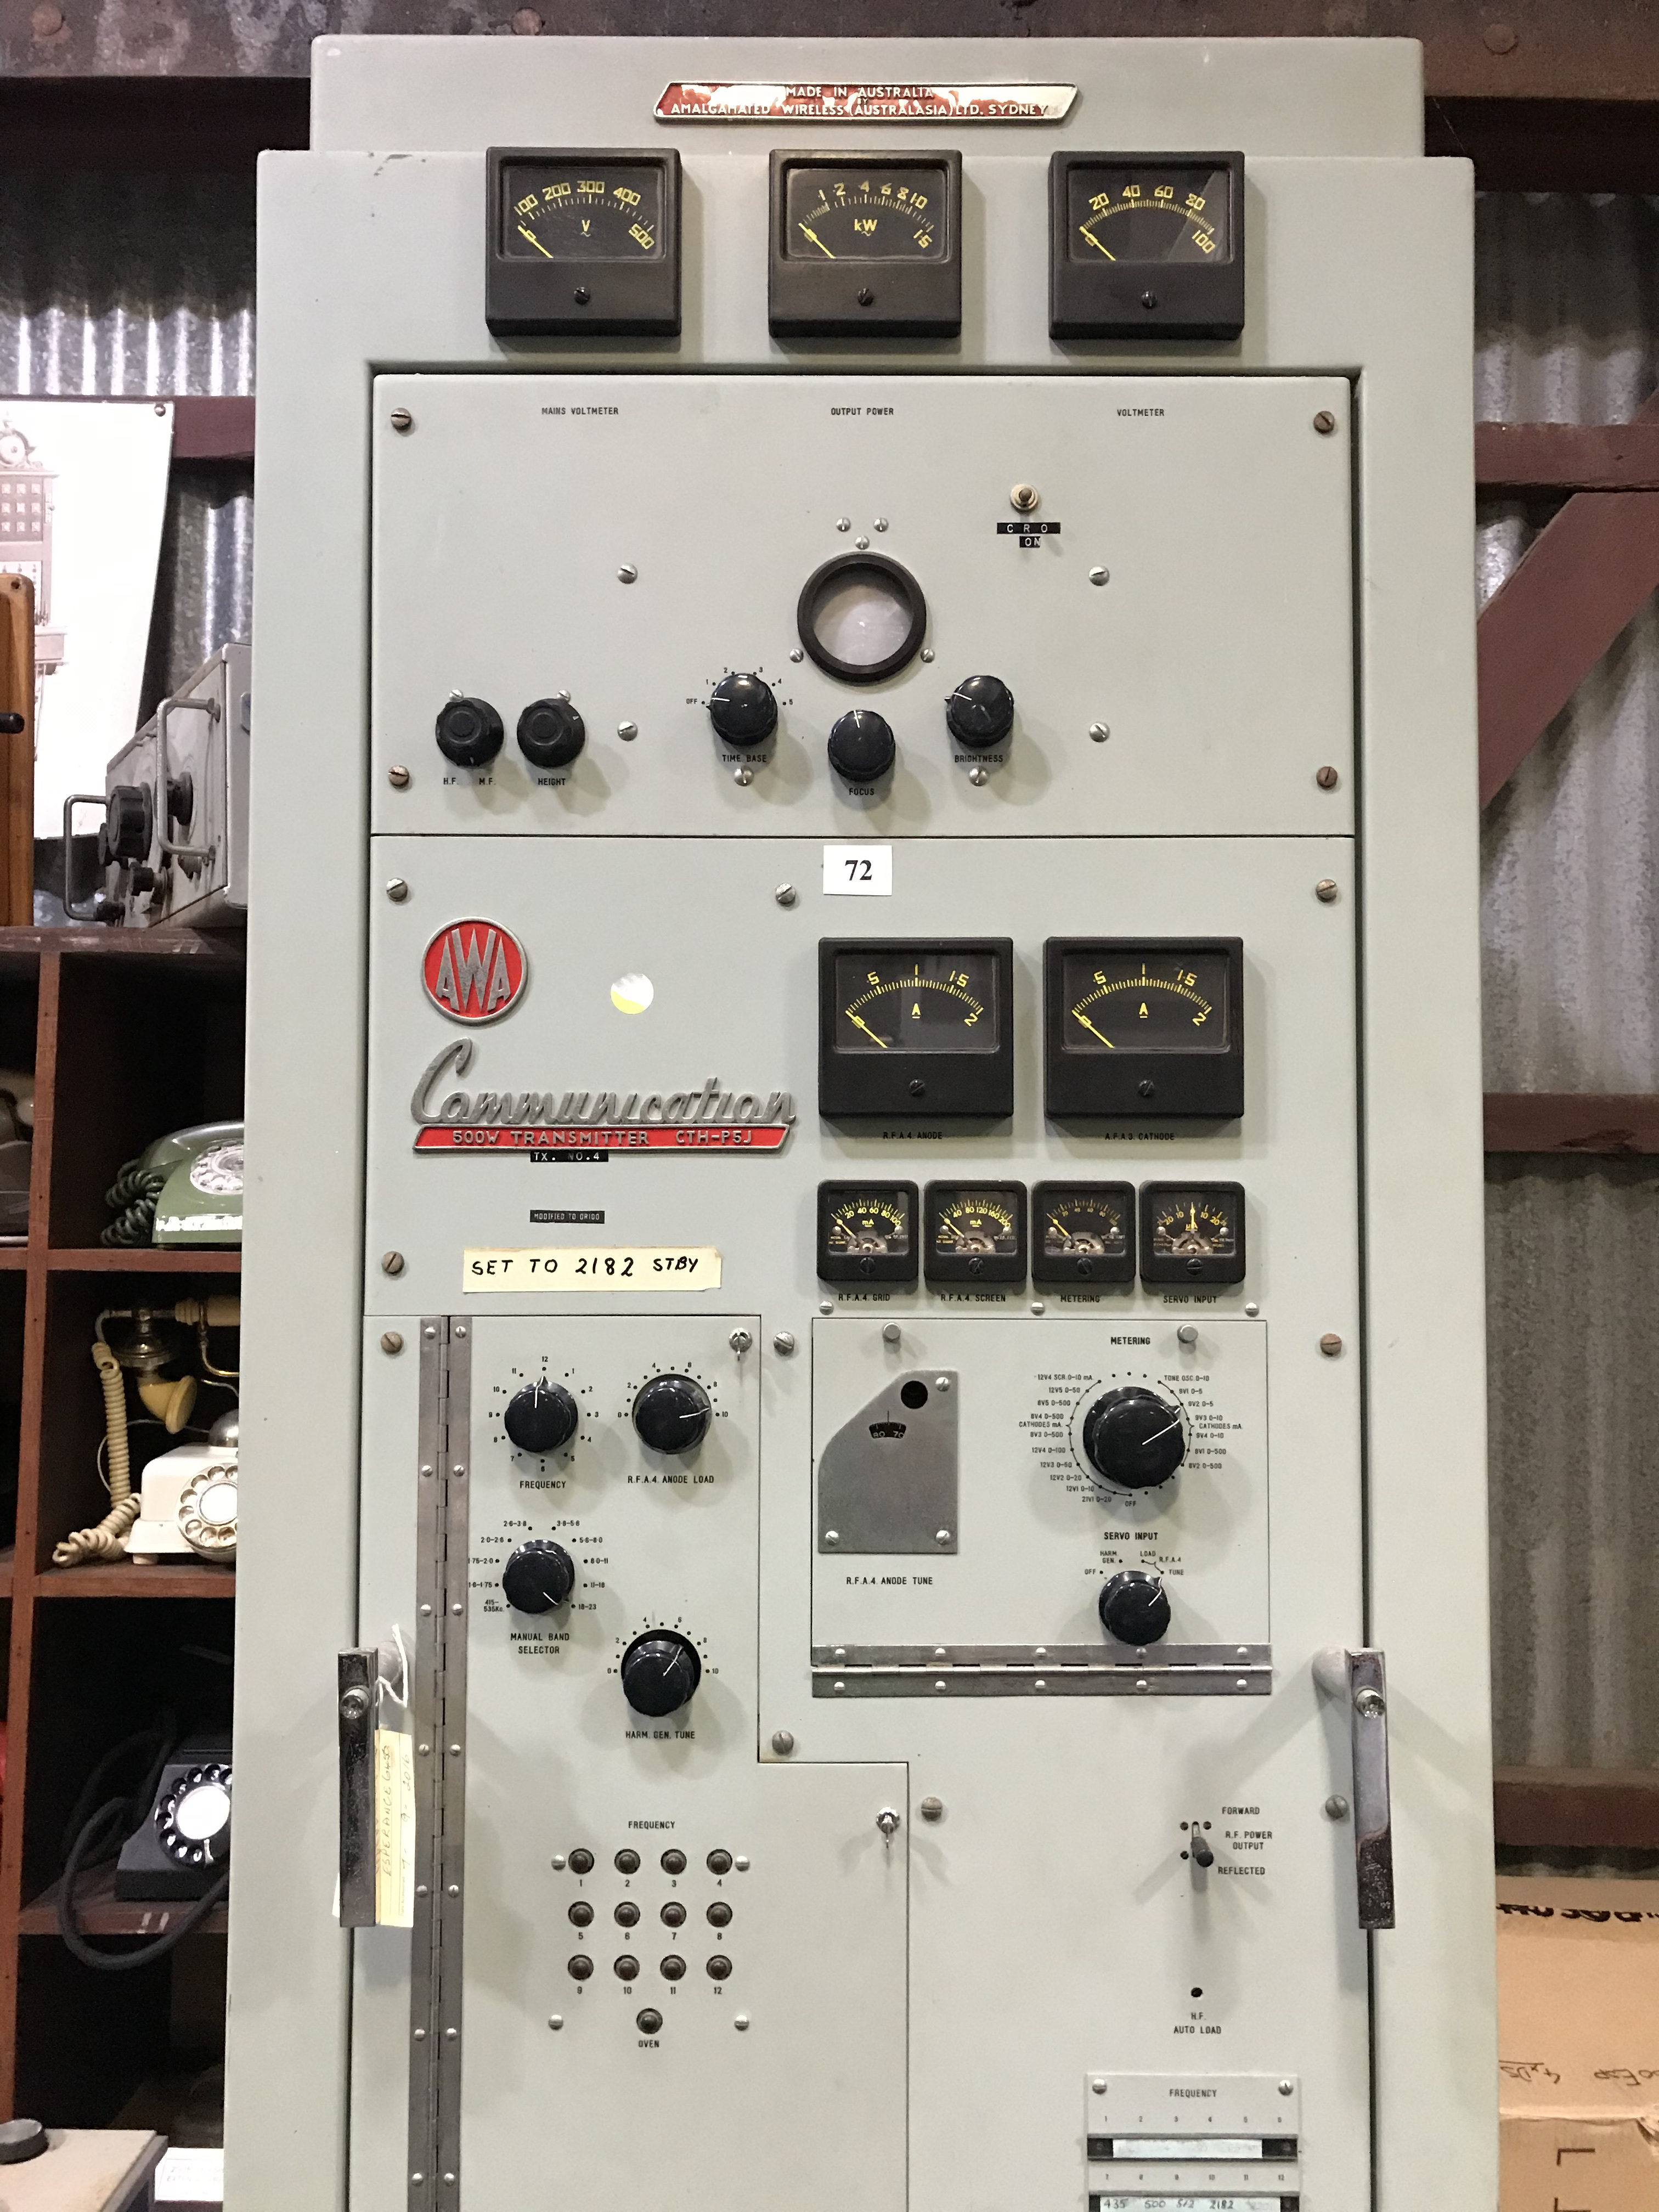
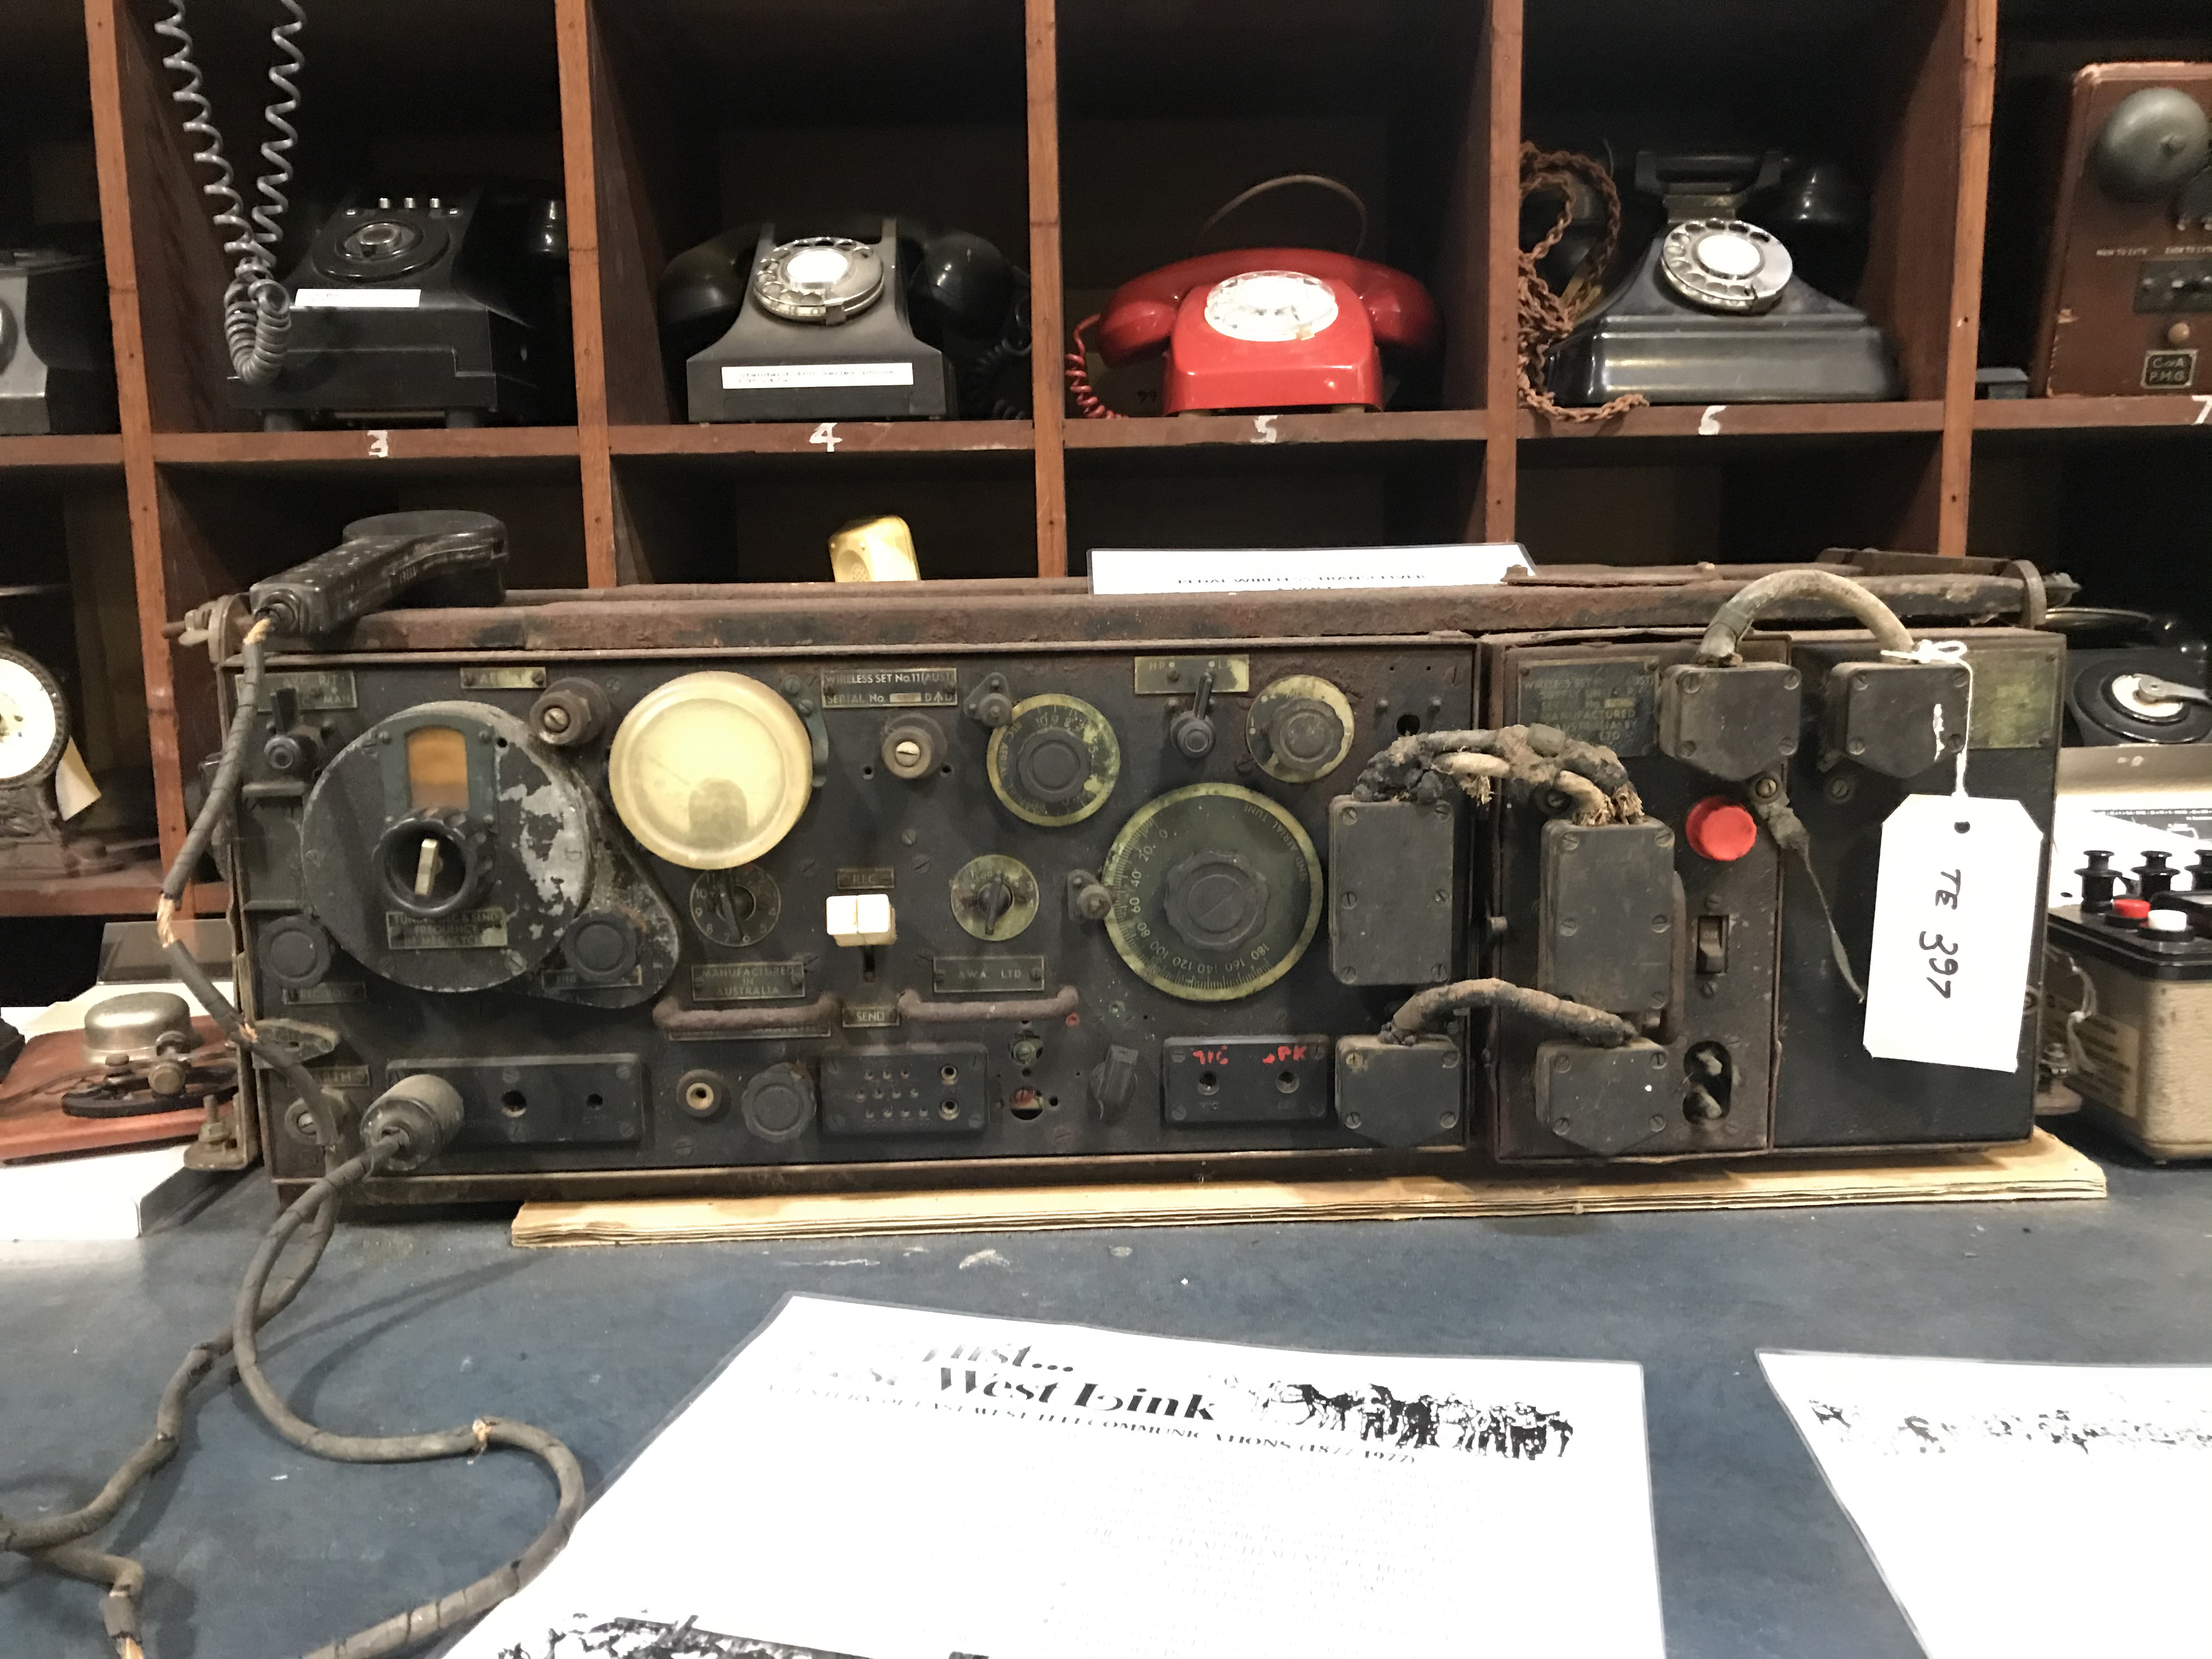
I’ve been inactive for so long so it makes sense that the most streamlined part of my station is the storage…
Recently repacked after yesterday’s activation of Federation Range:

In there is everything required except for a squidpole and batteries.
